Making tofu at home isn’t as difficult as it may seem. In fact, if you can manage it, homemade tofu almost always tastes better than store-bought.
🥢 The ingredients are simple:
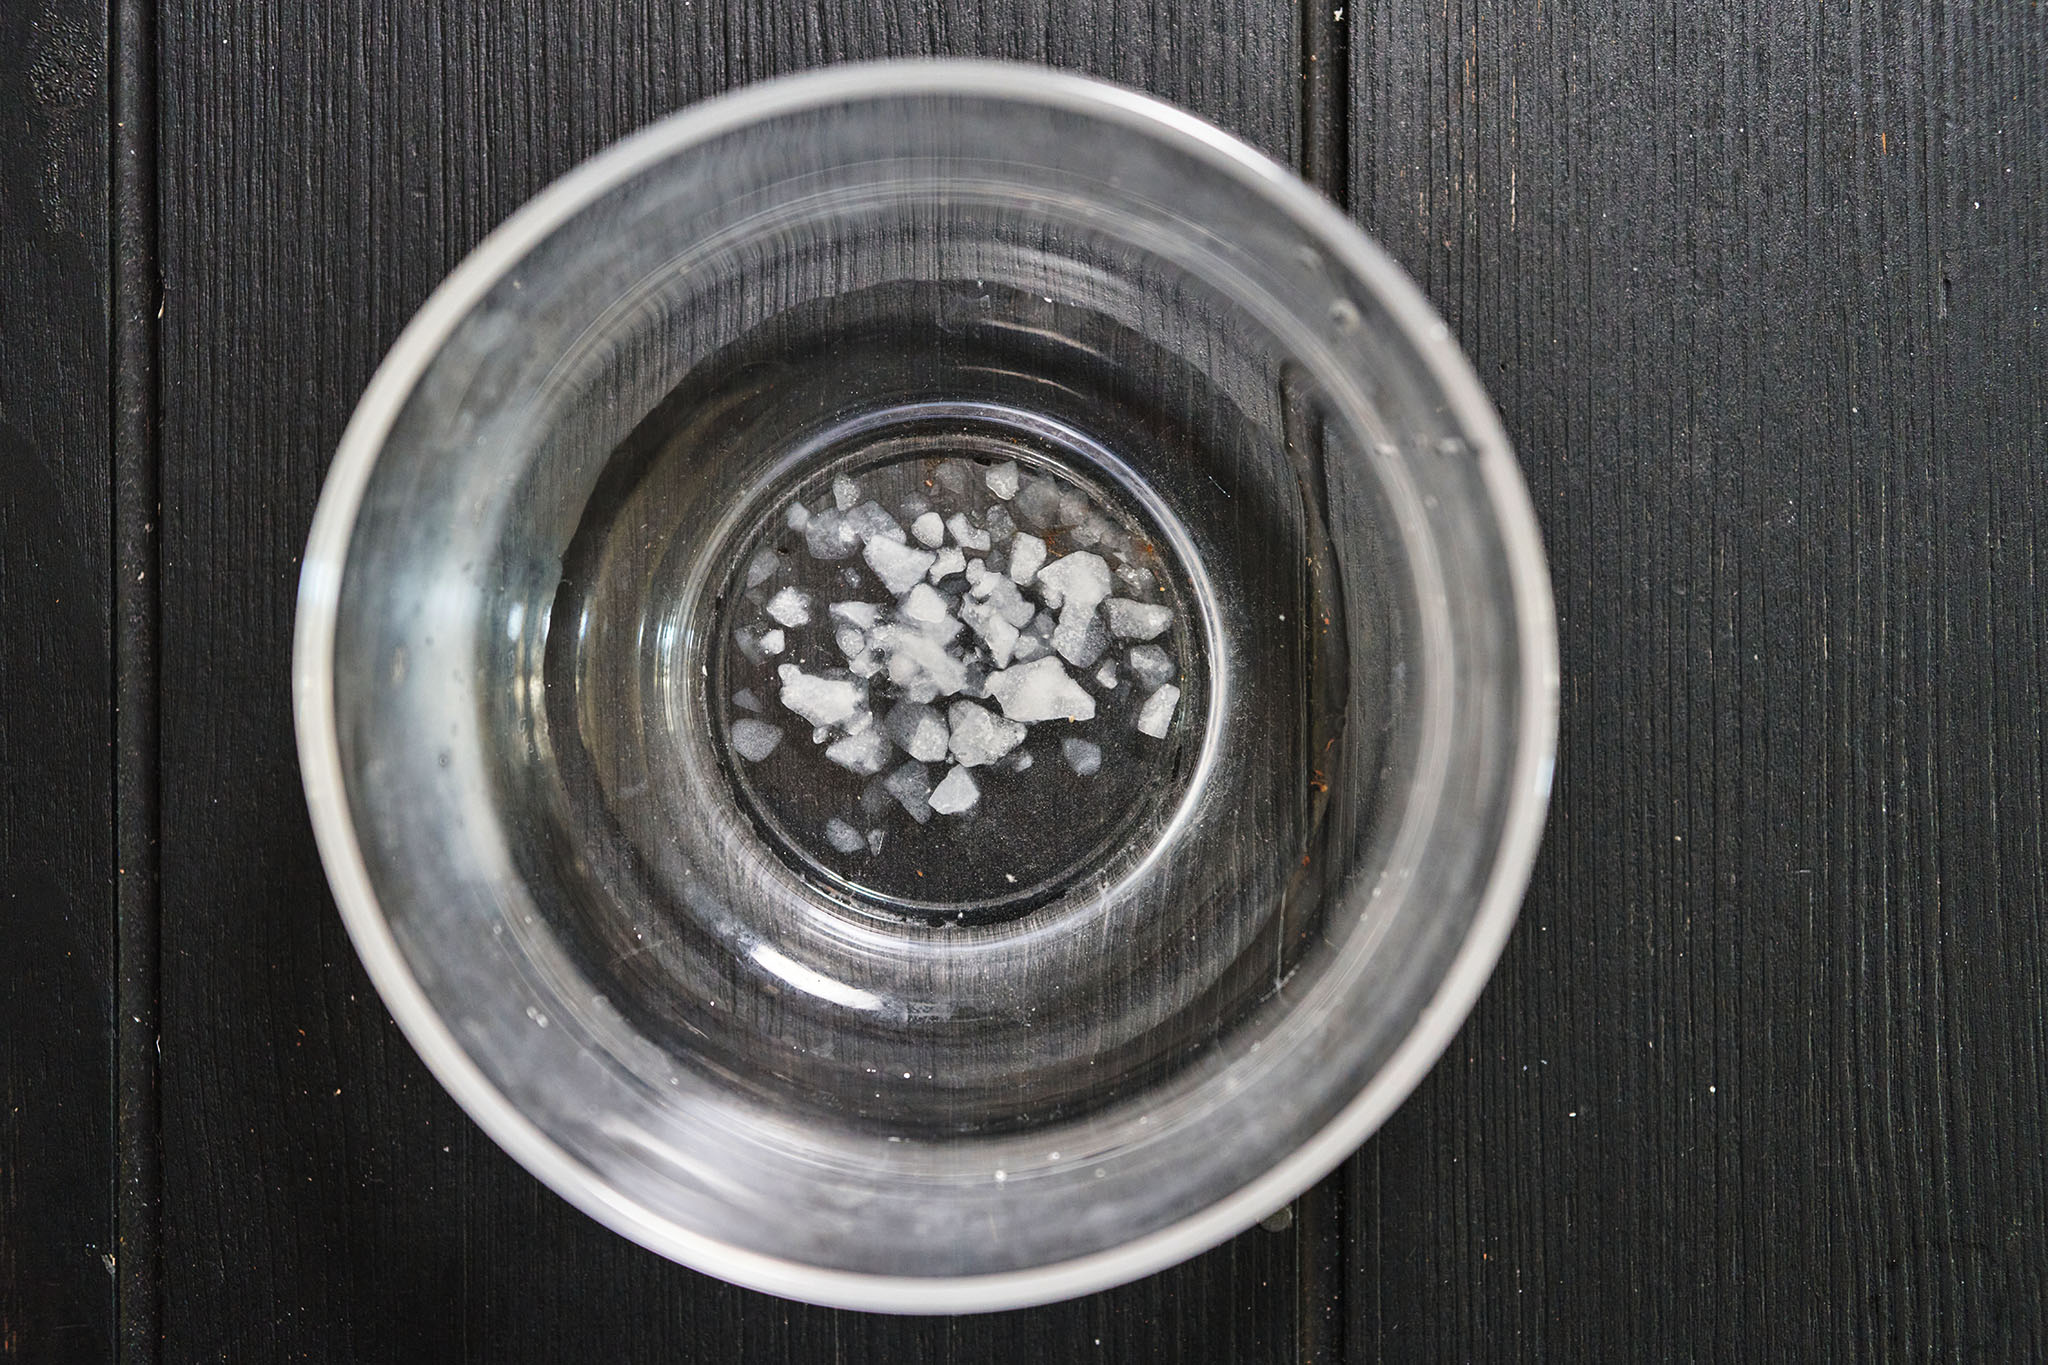
organic soybeans, clean water, and a food-grade coagulant — usually magnesium chloride (also known as nigari), which is readily available in supermarket or online.
🥢 Here is our basic recipe:
300g of soybeans + 2000ml of water + 6g of nigari dissolved in 120ml of water.
If you want to make a larger batch, just scale the ingredients accordingly.
The process isn’t complicated for beginners. Of course, like anything worth mastering, experience makes a difference.
🥢 Here are basic steps:
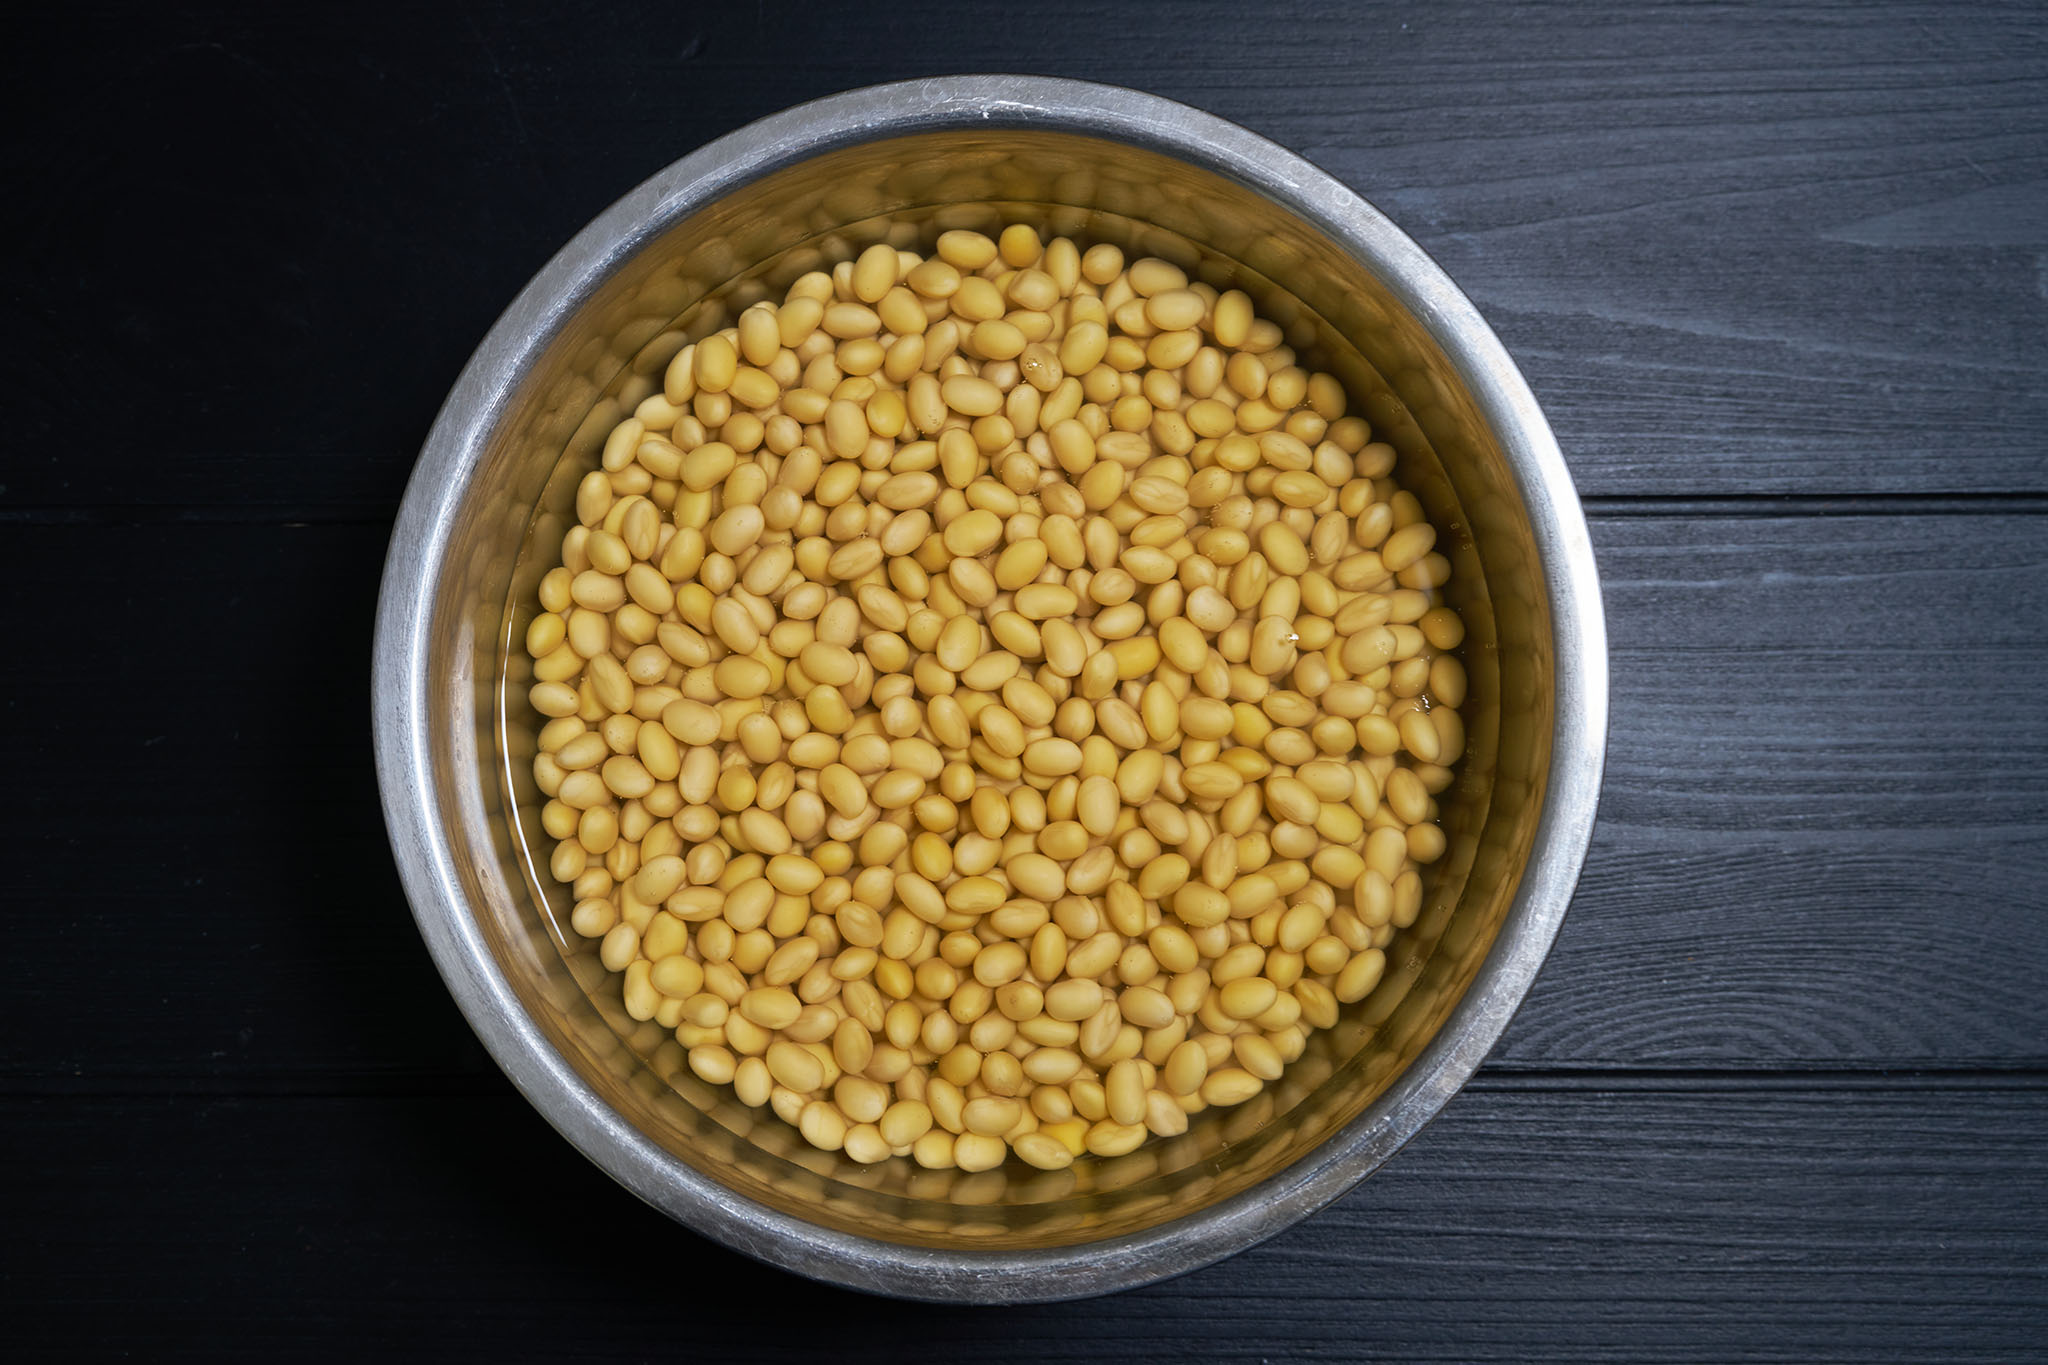
1,Start by soaking clean fresh soybeans overnight. This soaking water is not part of the recipe ratio. Be sure to use plenty of water — enough so that even after the soybeans have fully absorbed water, they still remain submerged.
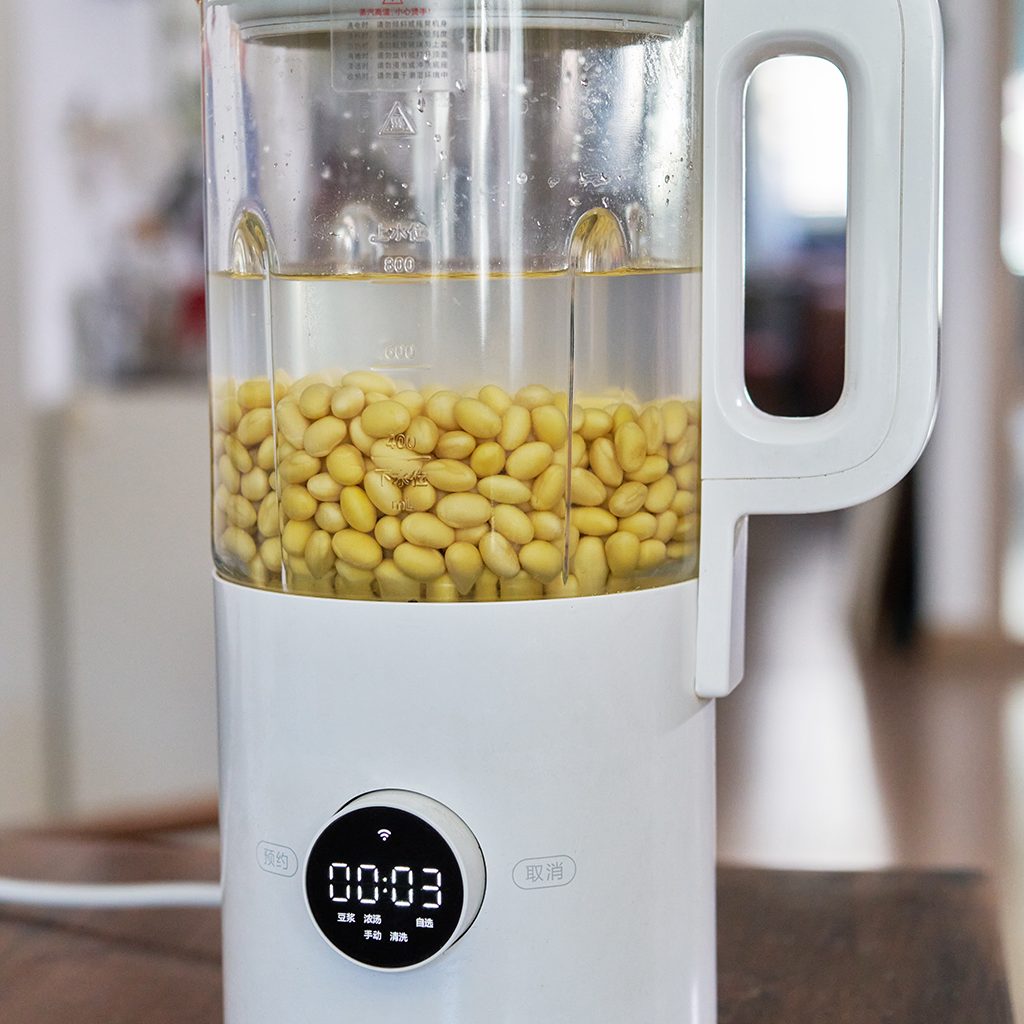
2,Drain the soaked soybeans and discard the soaking water. Transfer the beans into a blender or high-speed food processor, adding the measured water from the recipe. Blend until you get a smooth soybean paste.
Unless your machine has a large enough capacity, you’ll likely need to do this in batches.
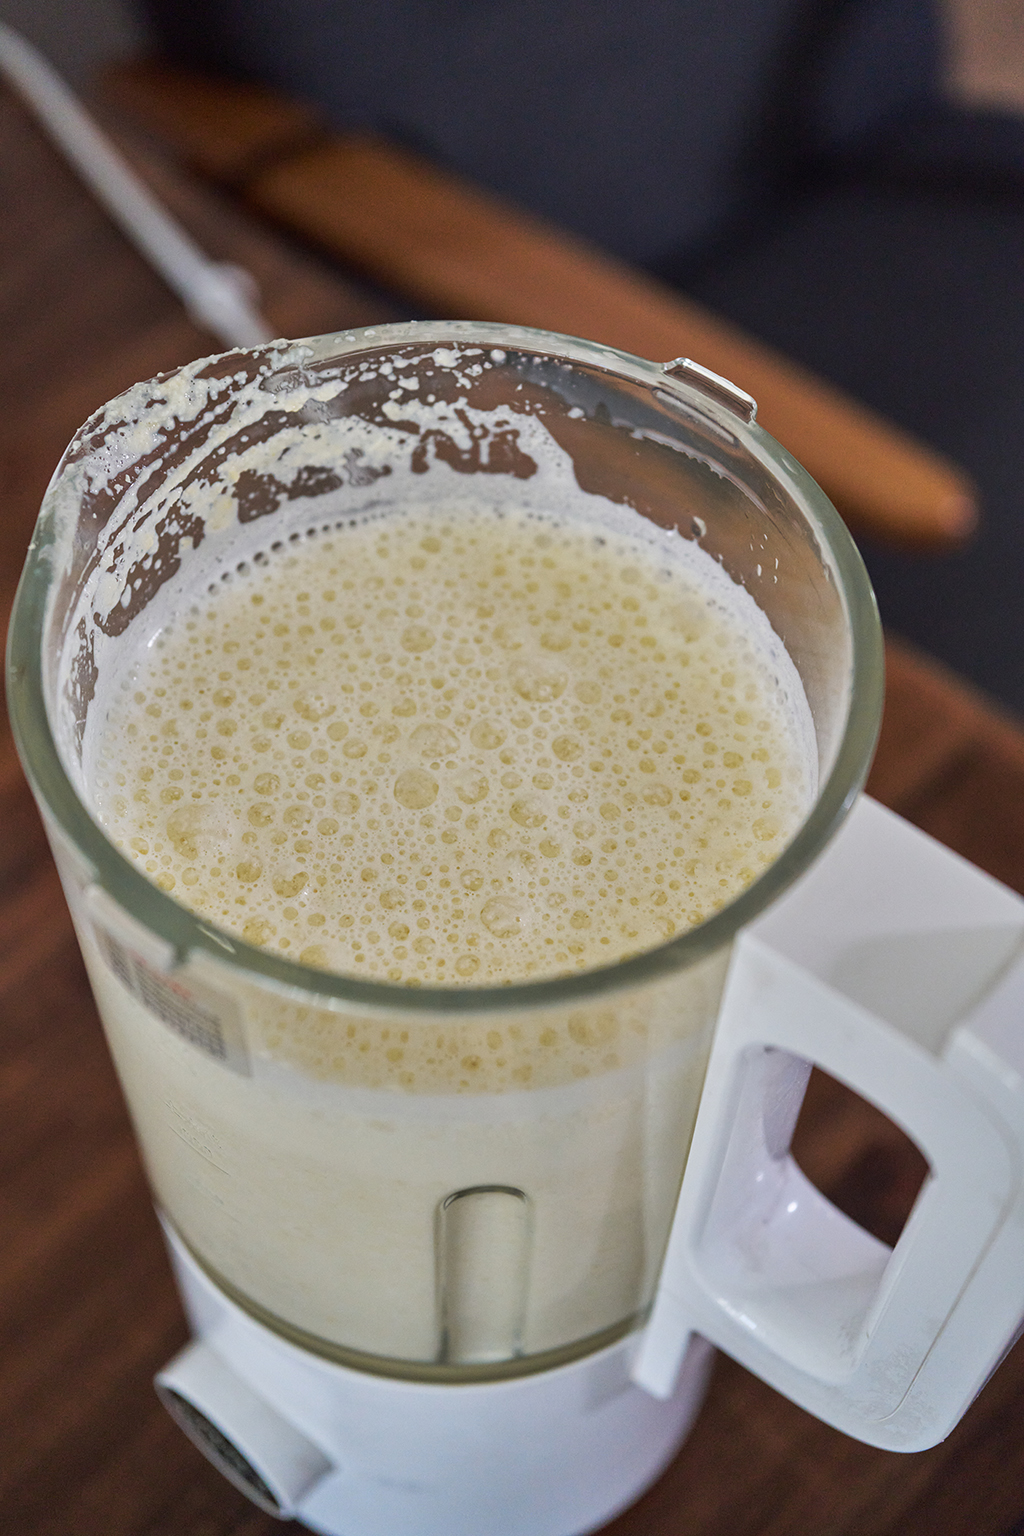
3,Pour the finely blended, smooth soybean paste into a suitable container.
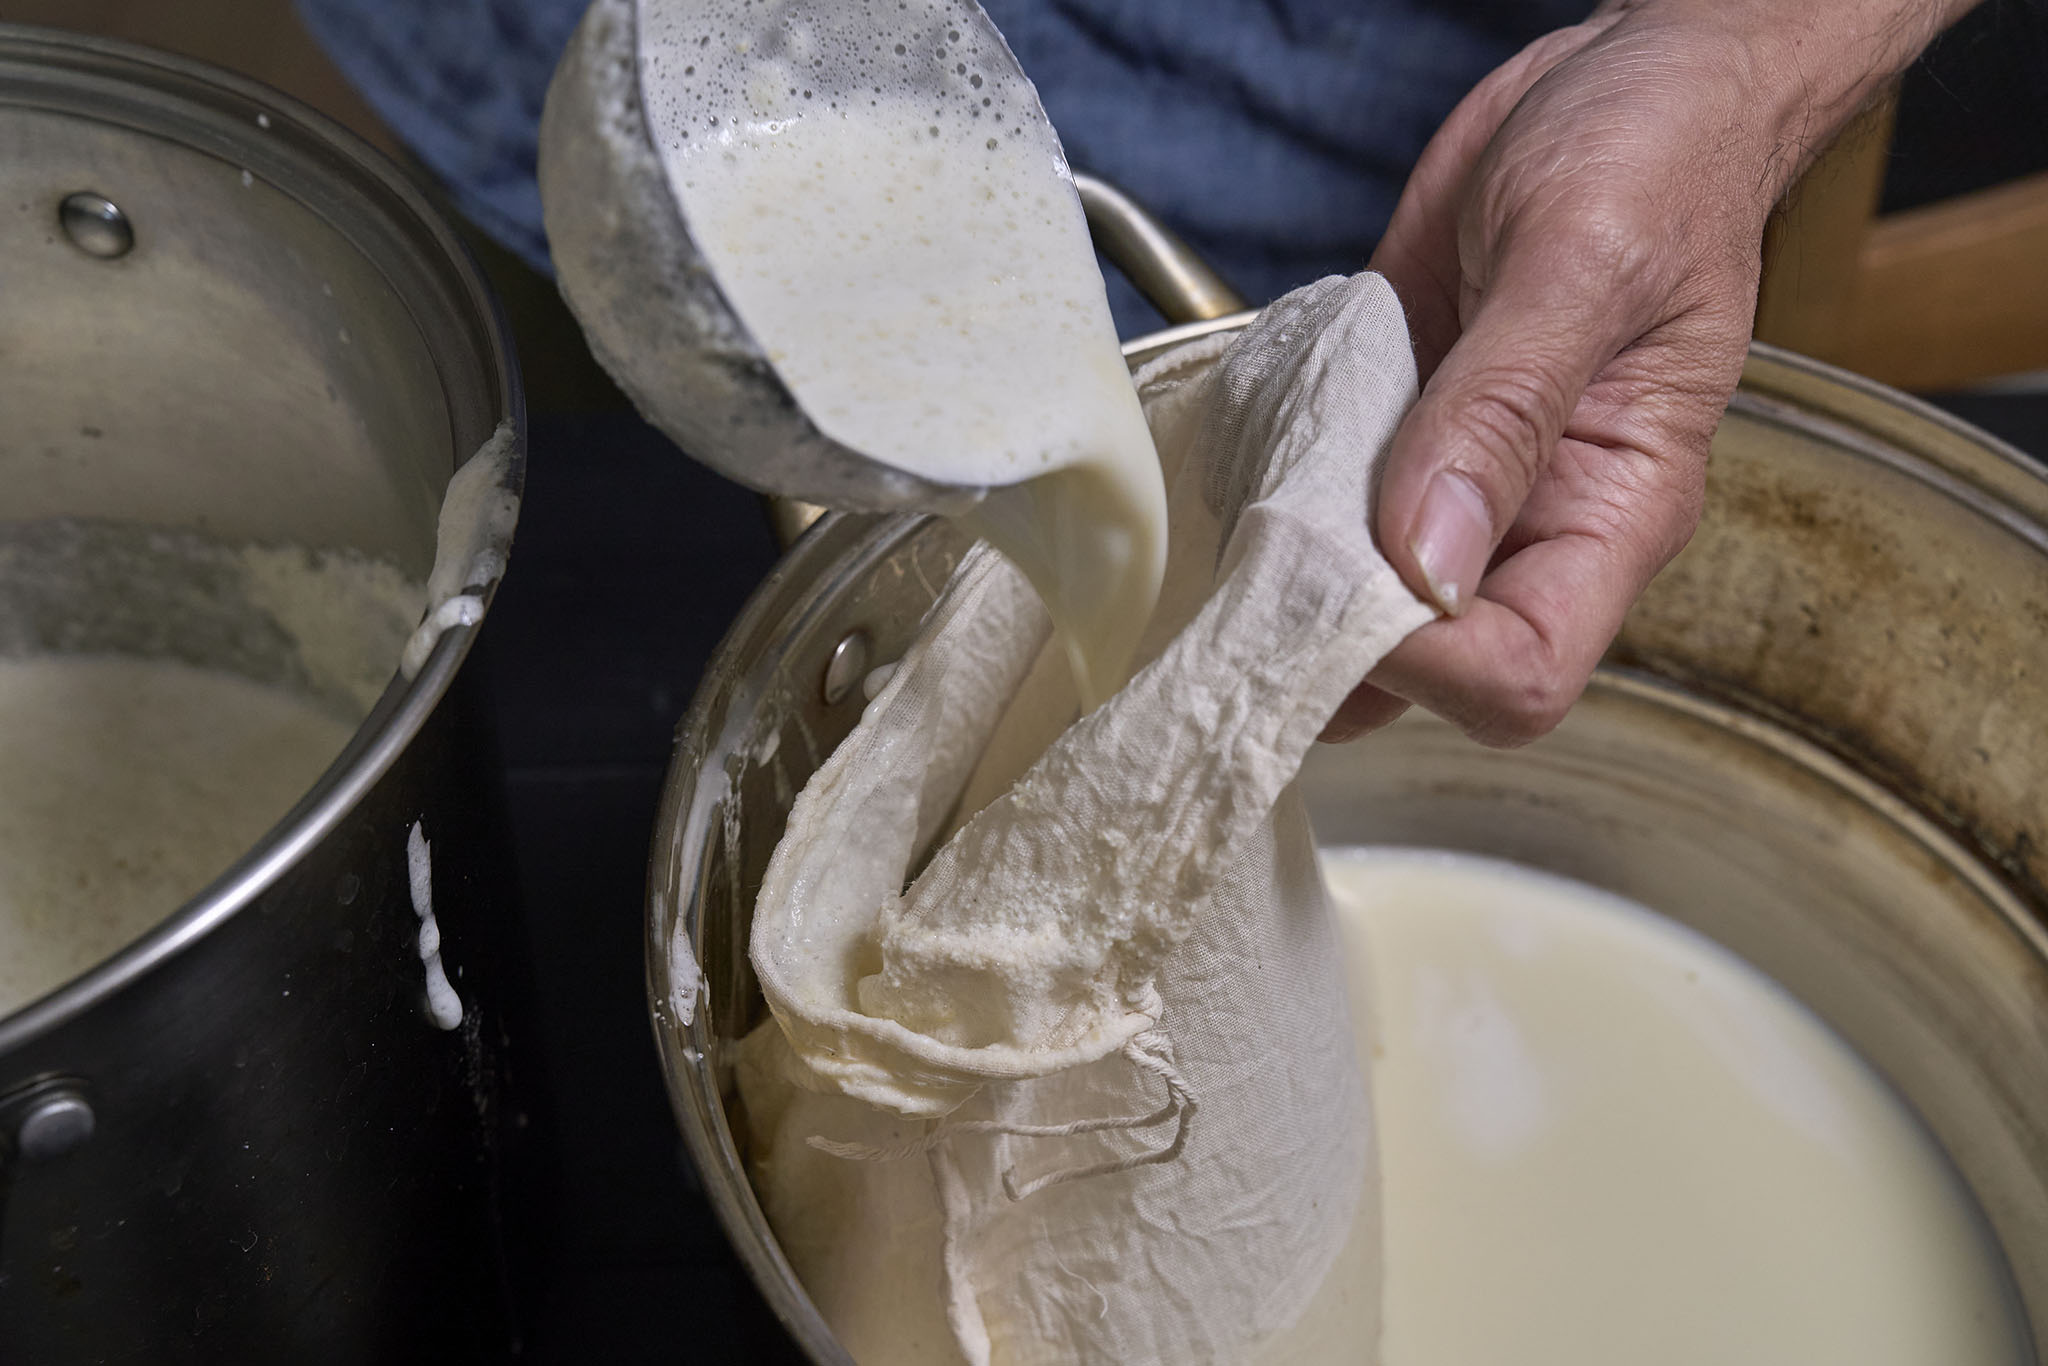
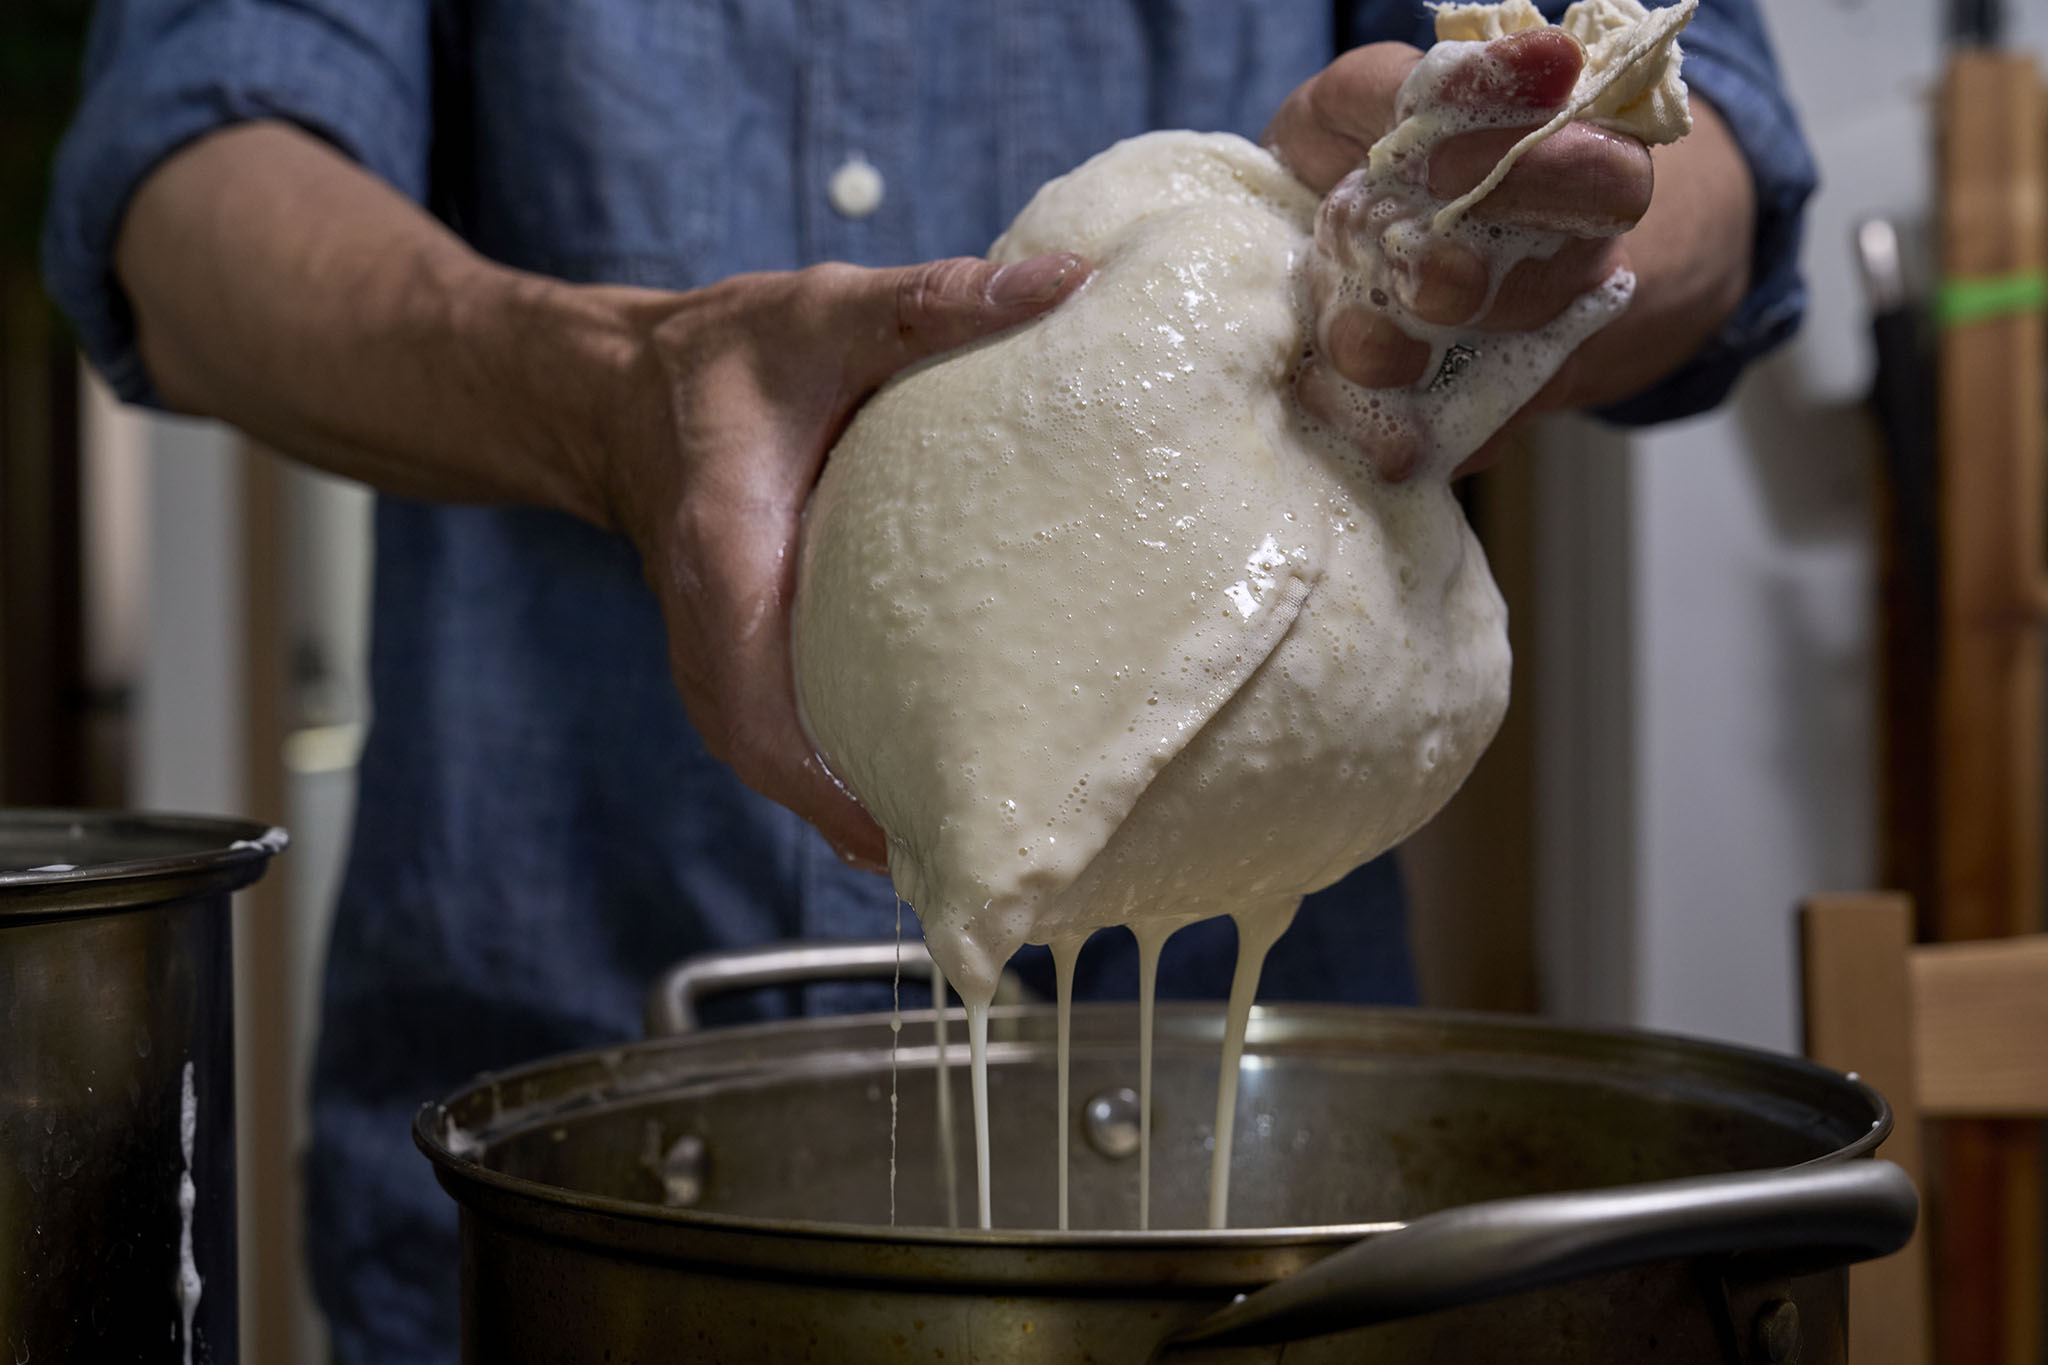
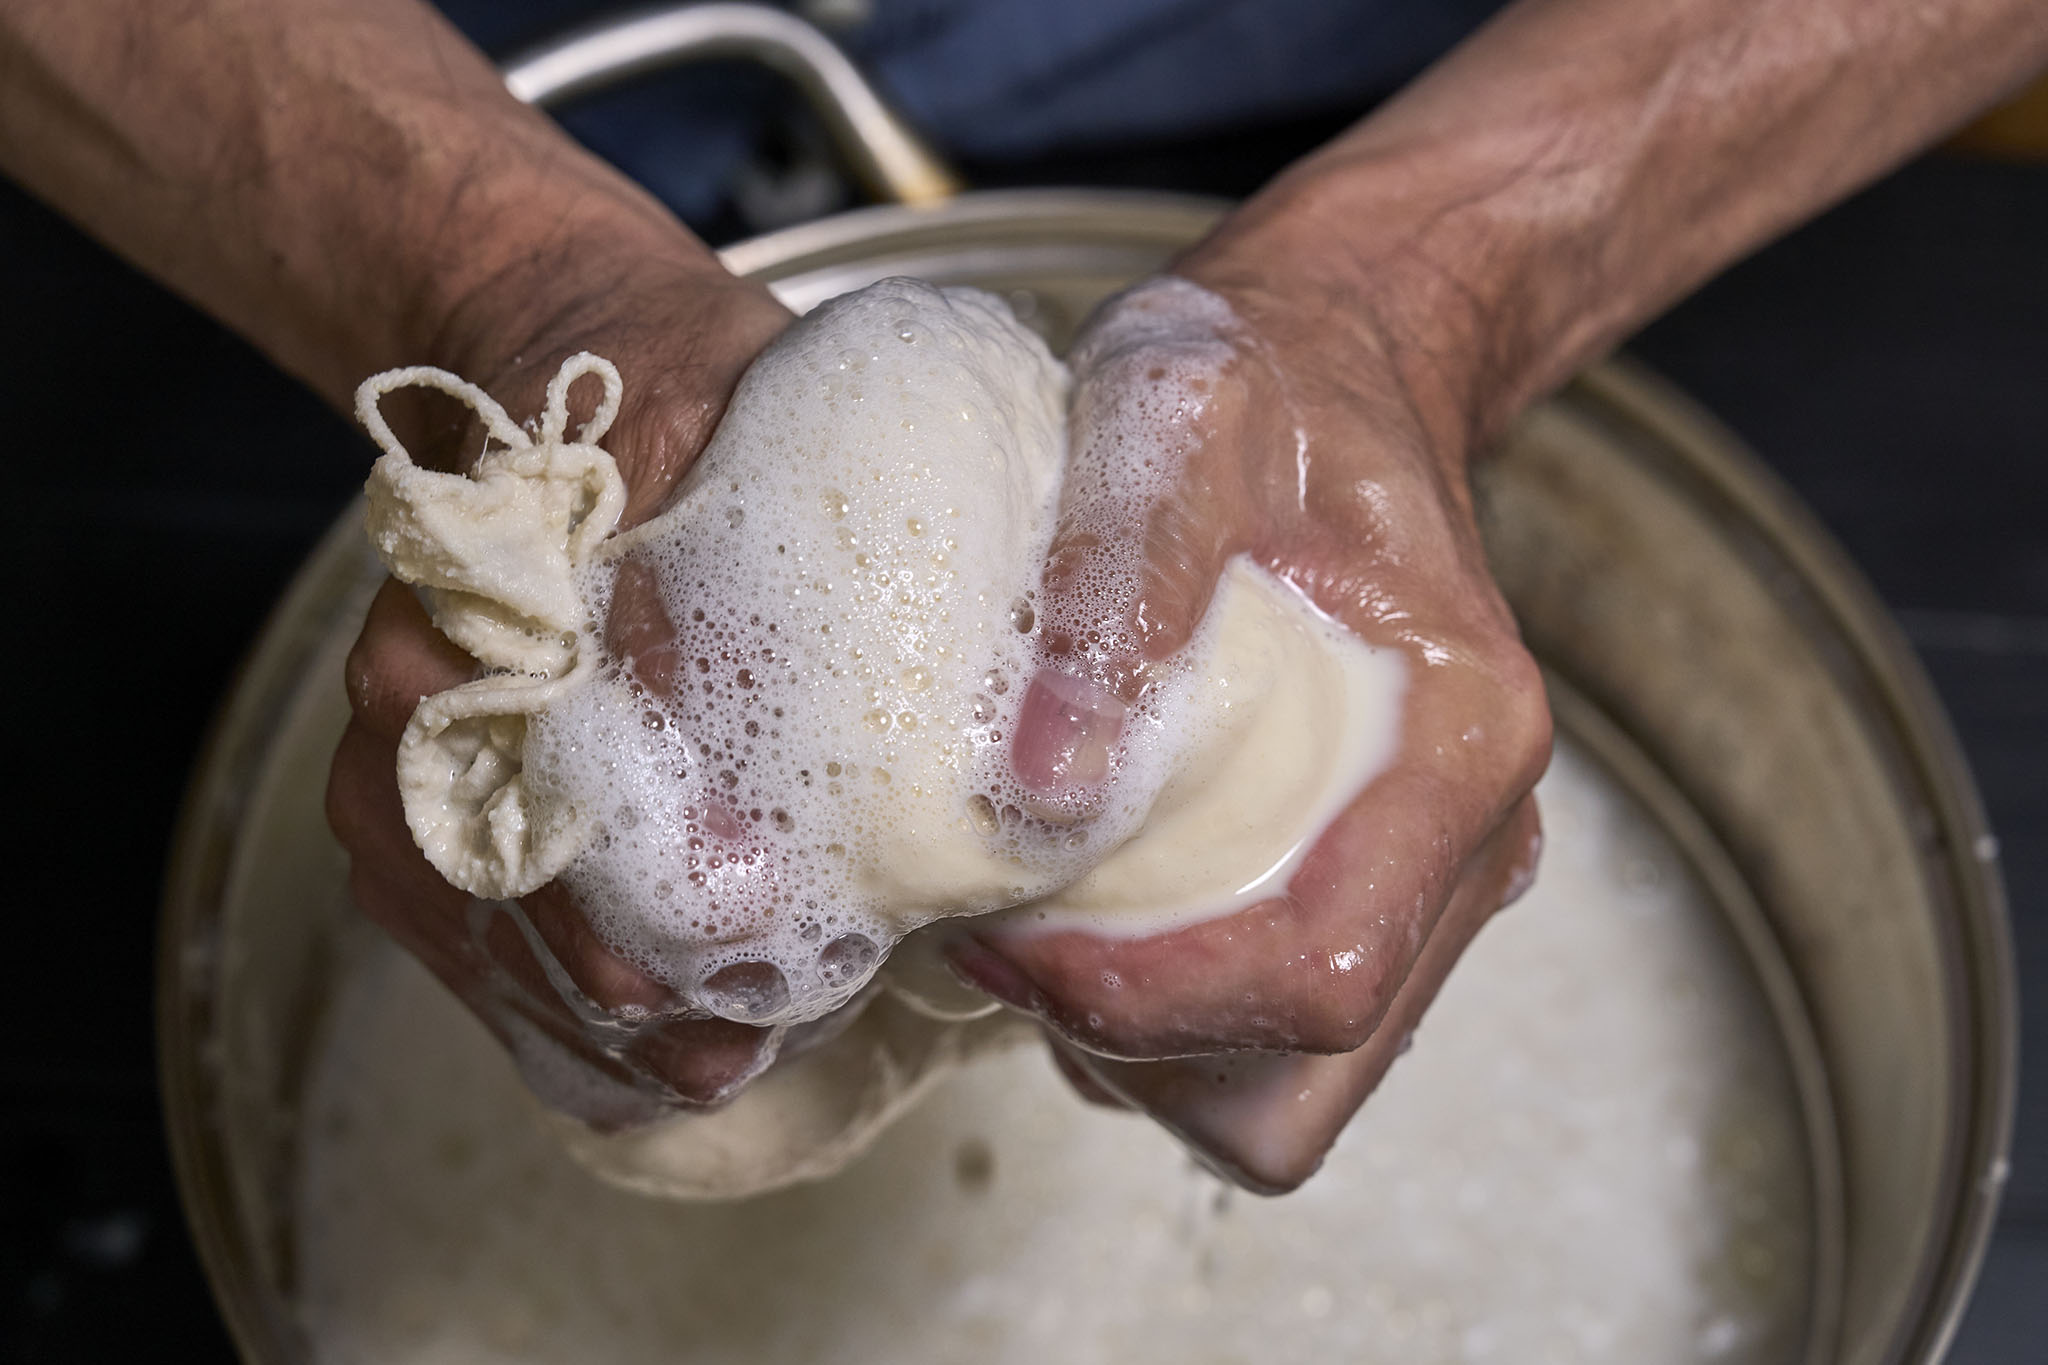
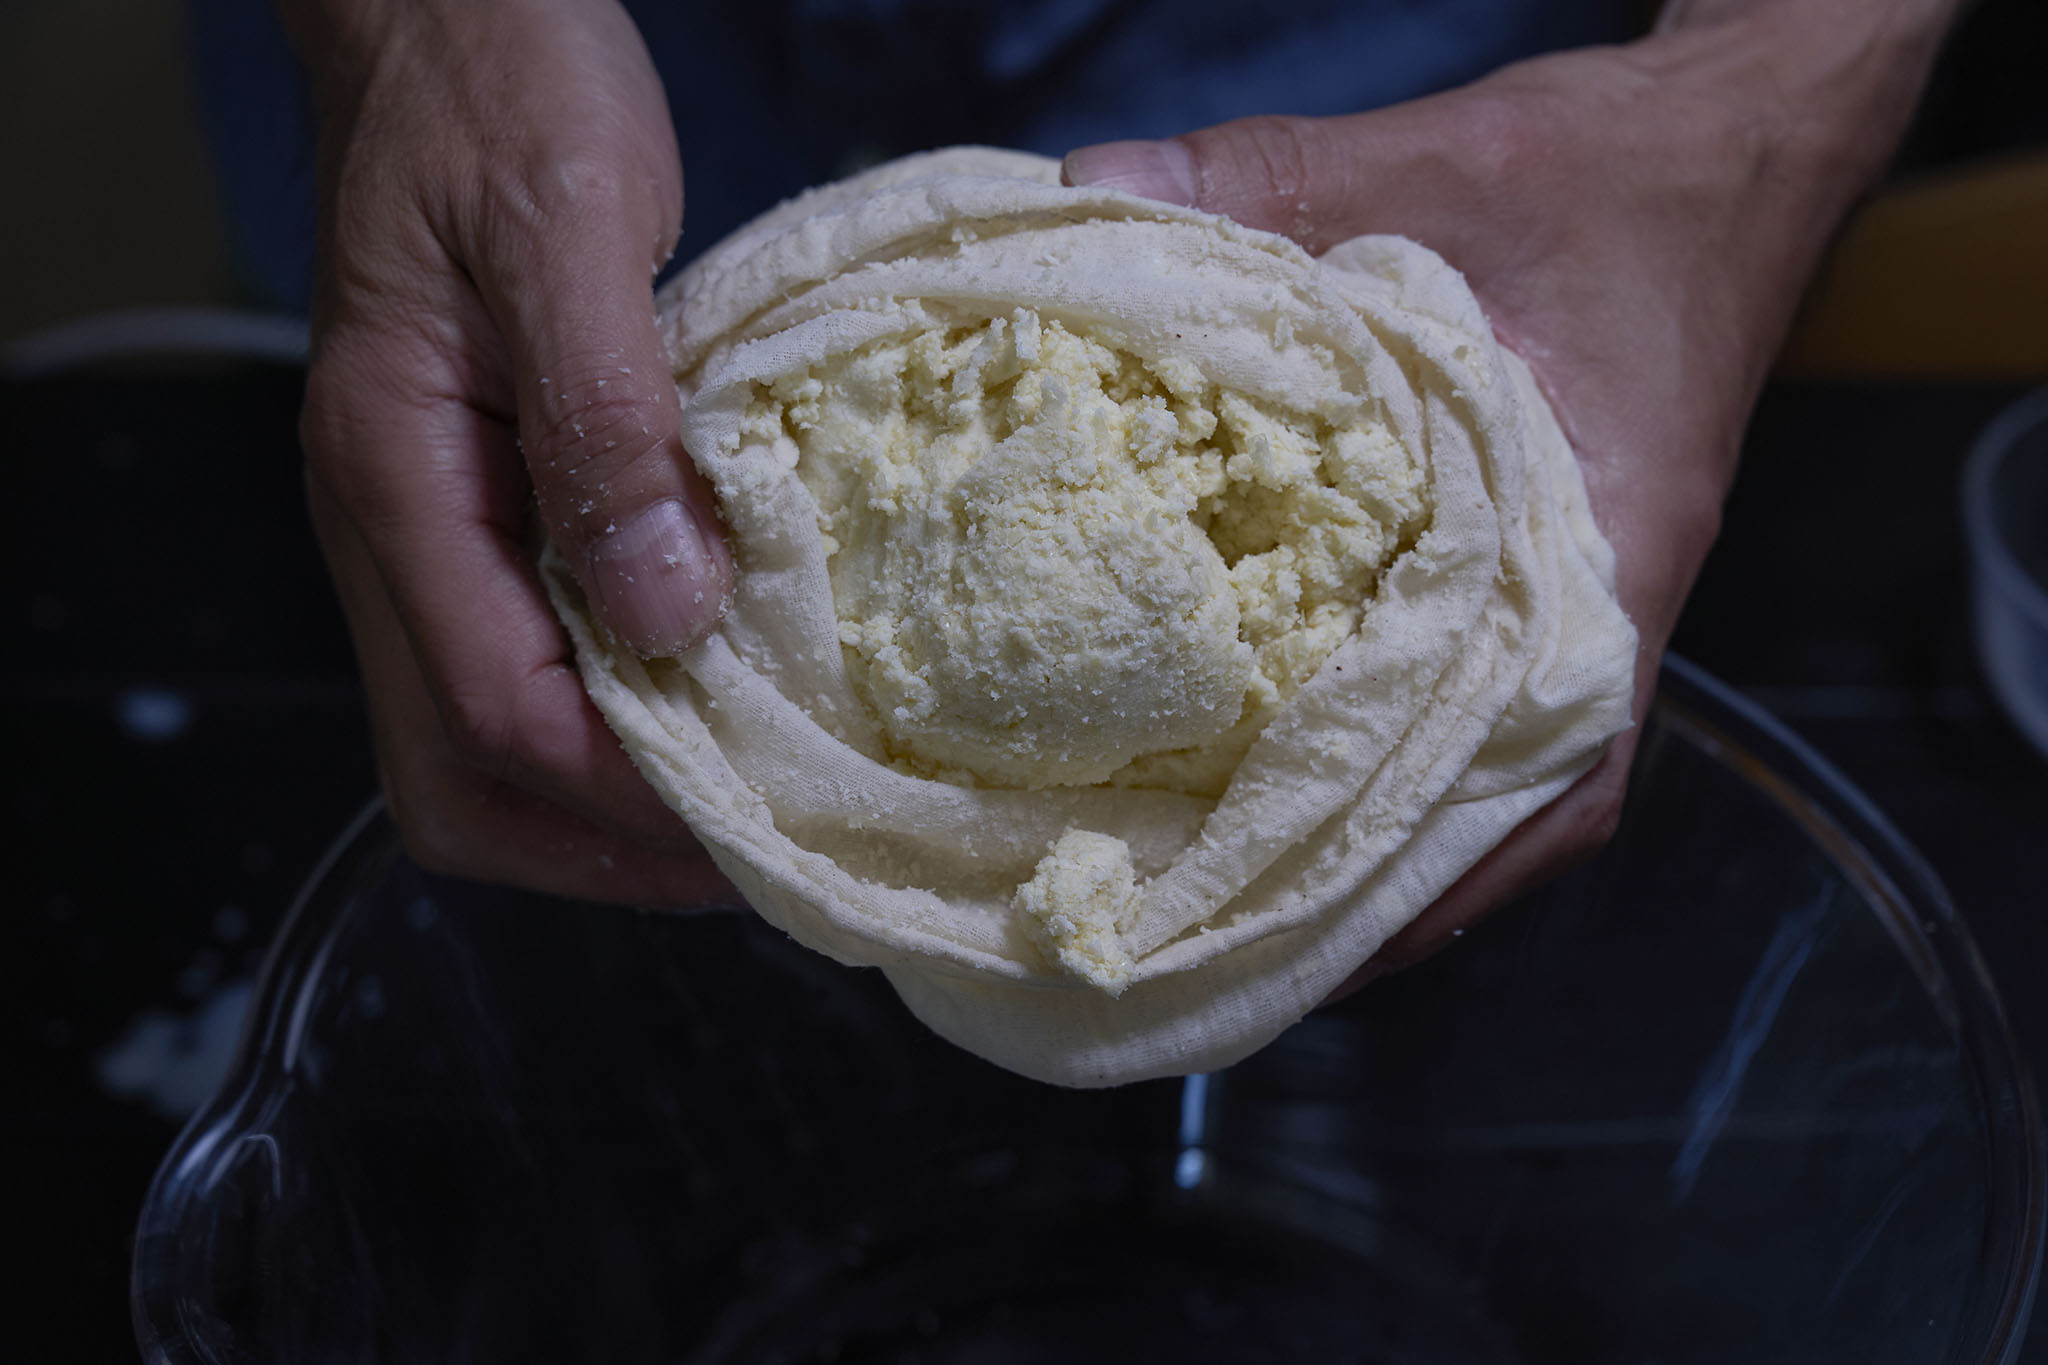
4,Use a cotton filter bag to separate the soybean pulp (okara) from the soy milk. Squeezing the soy milk from the pulp takes some effort — but it’s worth it! The drier the okara you squeeze out, the more pure soy milk you’ll get, which means a bigger yield of tofu in the end.
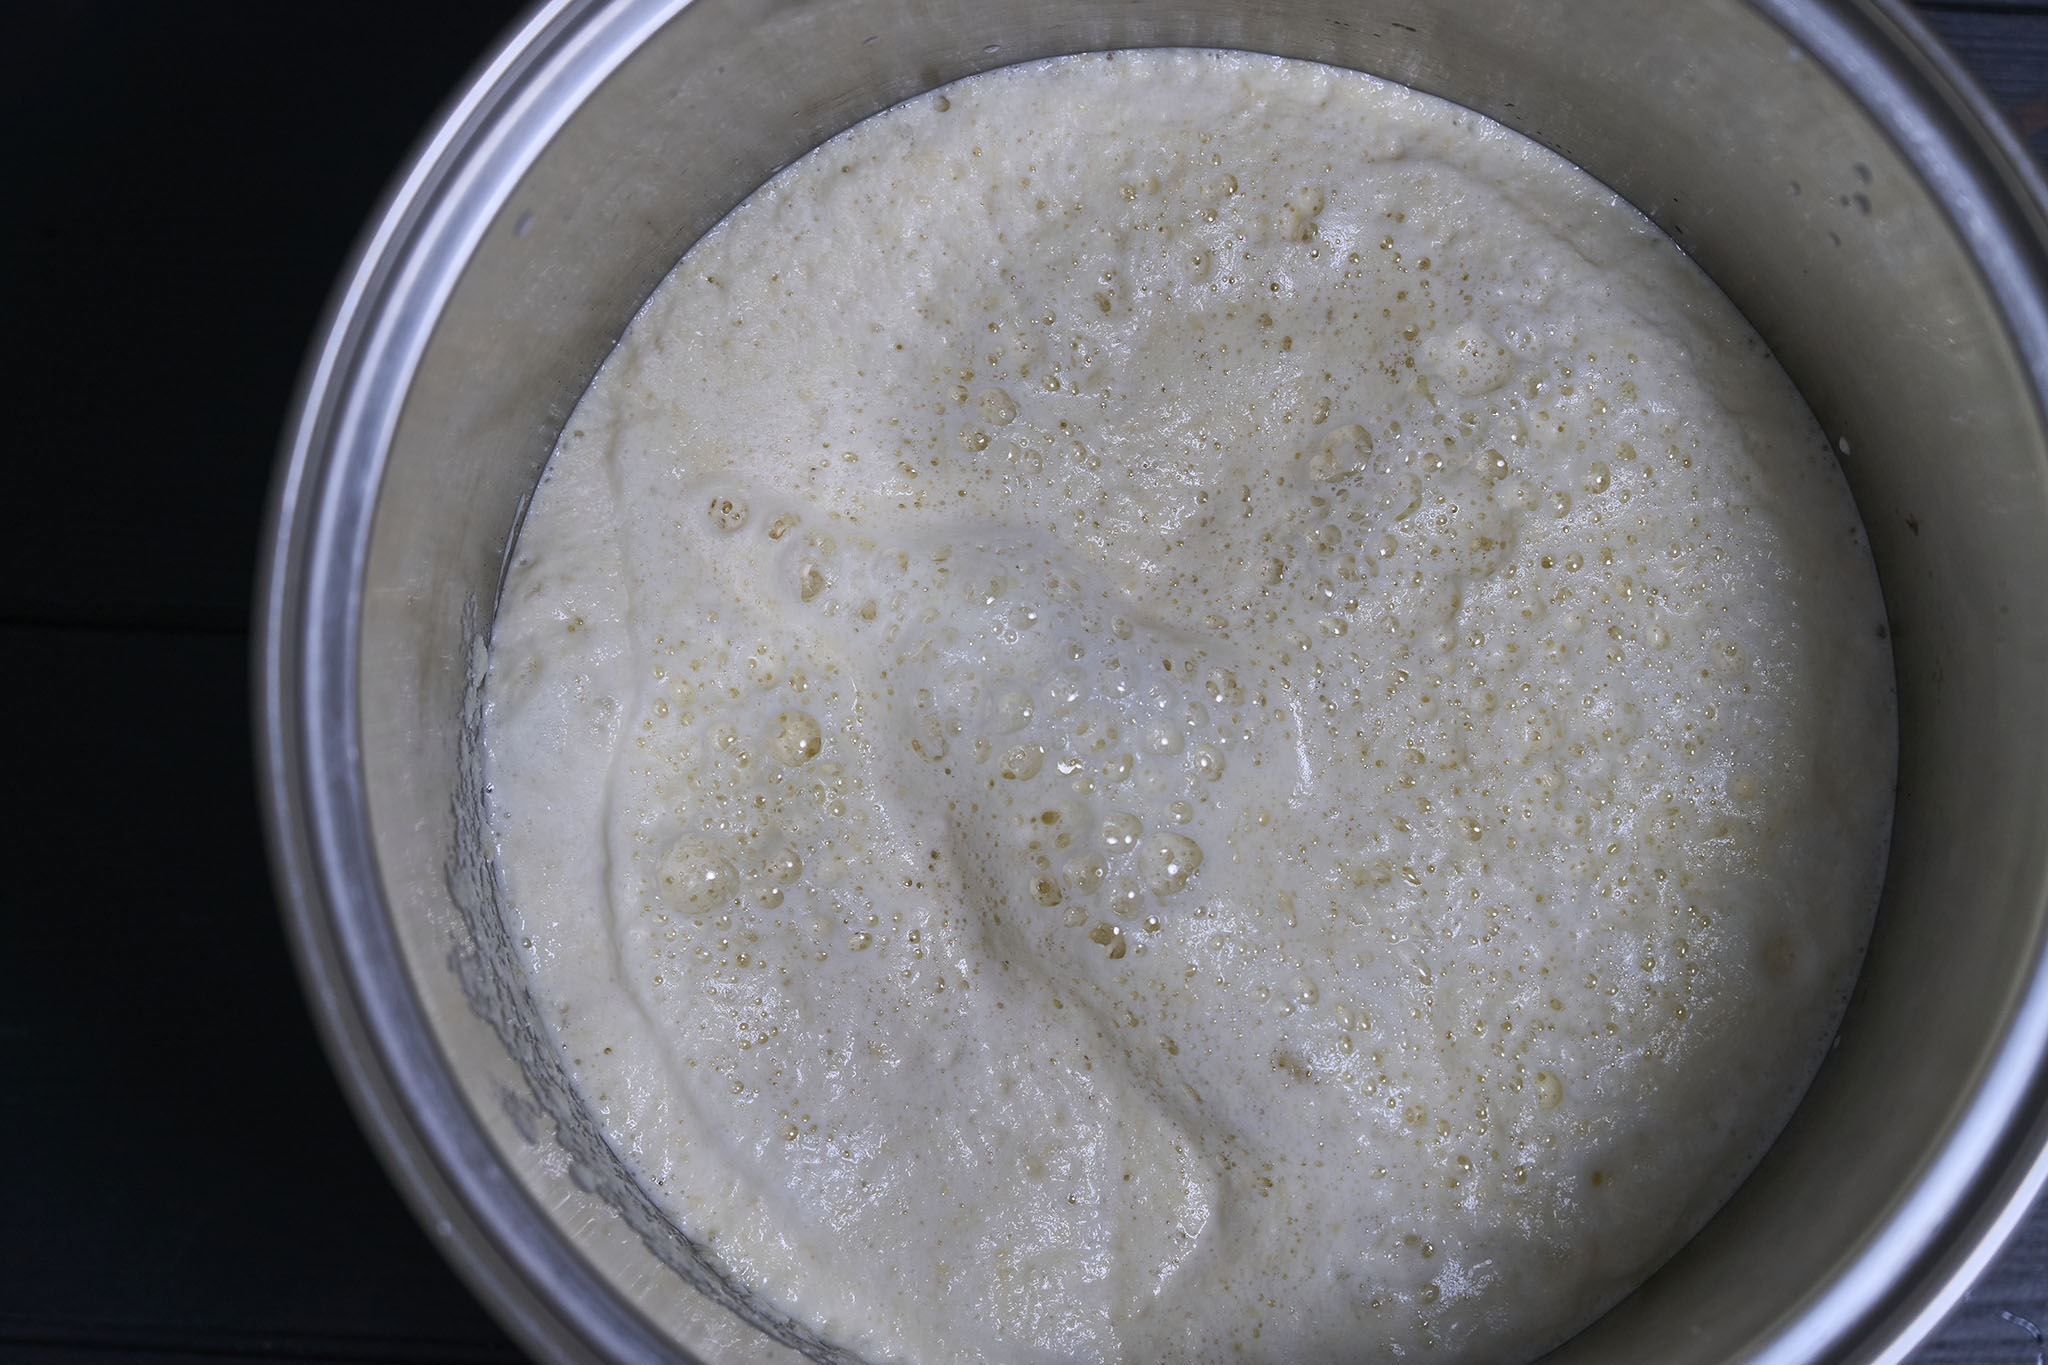
5,Transfer the filtered soy milk to a pot and boil over the stove. There are two important things to watch for during this process:
1)Stir occasionally to prevent the bottom from scorching — burned soy milk will give the finished tofu a bitter taste.
2)Skim off the foam that rises to the surface. This foam can create the illusion of the soy milk reaching the boil. If the soy milk isn’t fully cooked, it may still contain lectins — natural compounds found in beans that, when not neutralized by heat, can irritate the digestive system and cause bloating or diarrhea.
(Note: This is also why it’s essential to soak the soybeans for at least 12 hours and discard the soaking water — both steps help reduce the level of plant lectins.)
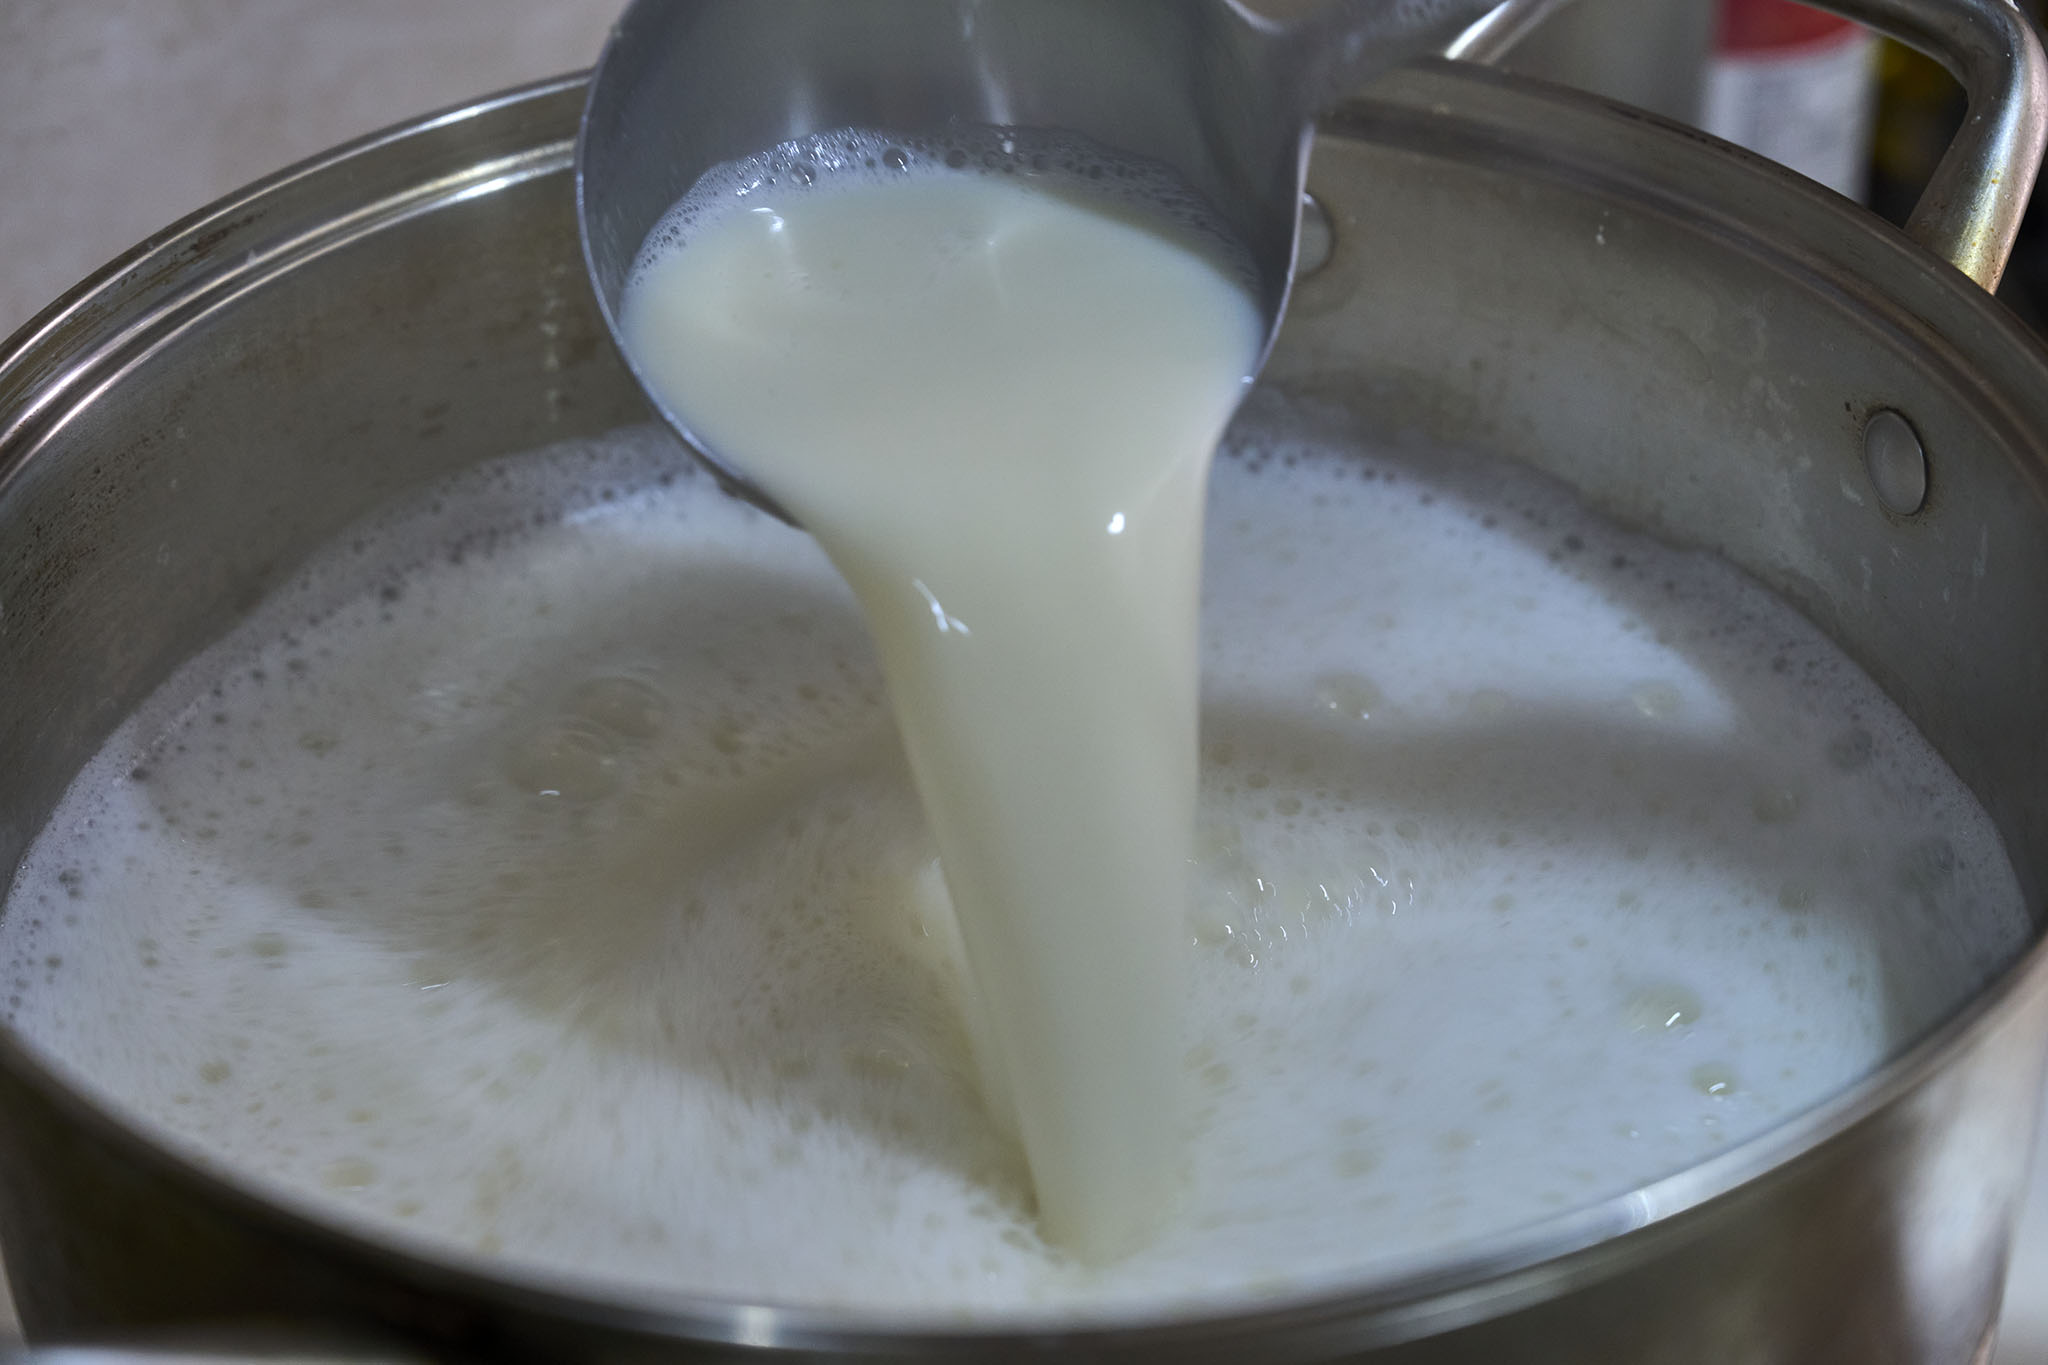
As you continue skimming off the foam, the soy milk will take on a pale, milky hue and begin to release a warm, nutty aroma of soybean protein. When it finally reaches a rolling boil, it will surge like waves in the pot. Let it boil for three full minutes, then turn off the heat.
During the straining and skimming process, some water will inevitably be lost. To adjust for that and slightly cool down the soy milk, add about 500 ml of clean water to the boiled soy milk.
6,While waiting for the soy milk to cool to the right temperature, you can take this time to fully dissolve the dry coagulant (nigari) in water. Once the soy milk reaches around 80–85°C (176–185°F), it’s ready for coagulation — it’s time to add the coagulant.
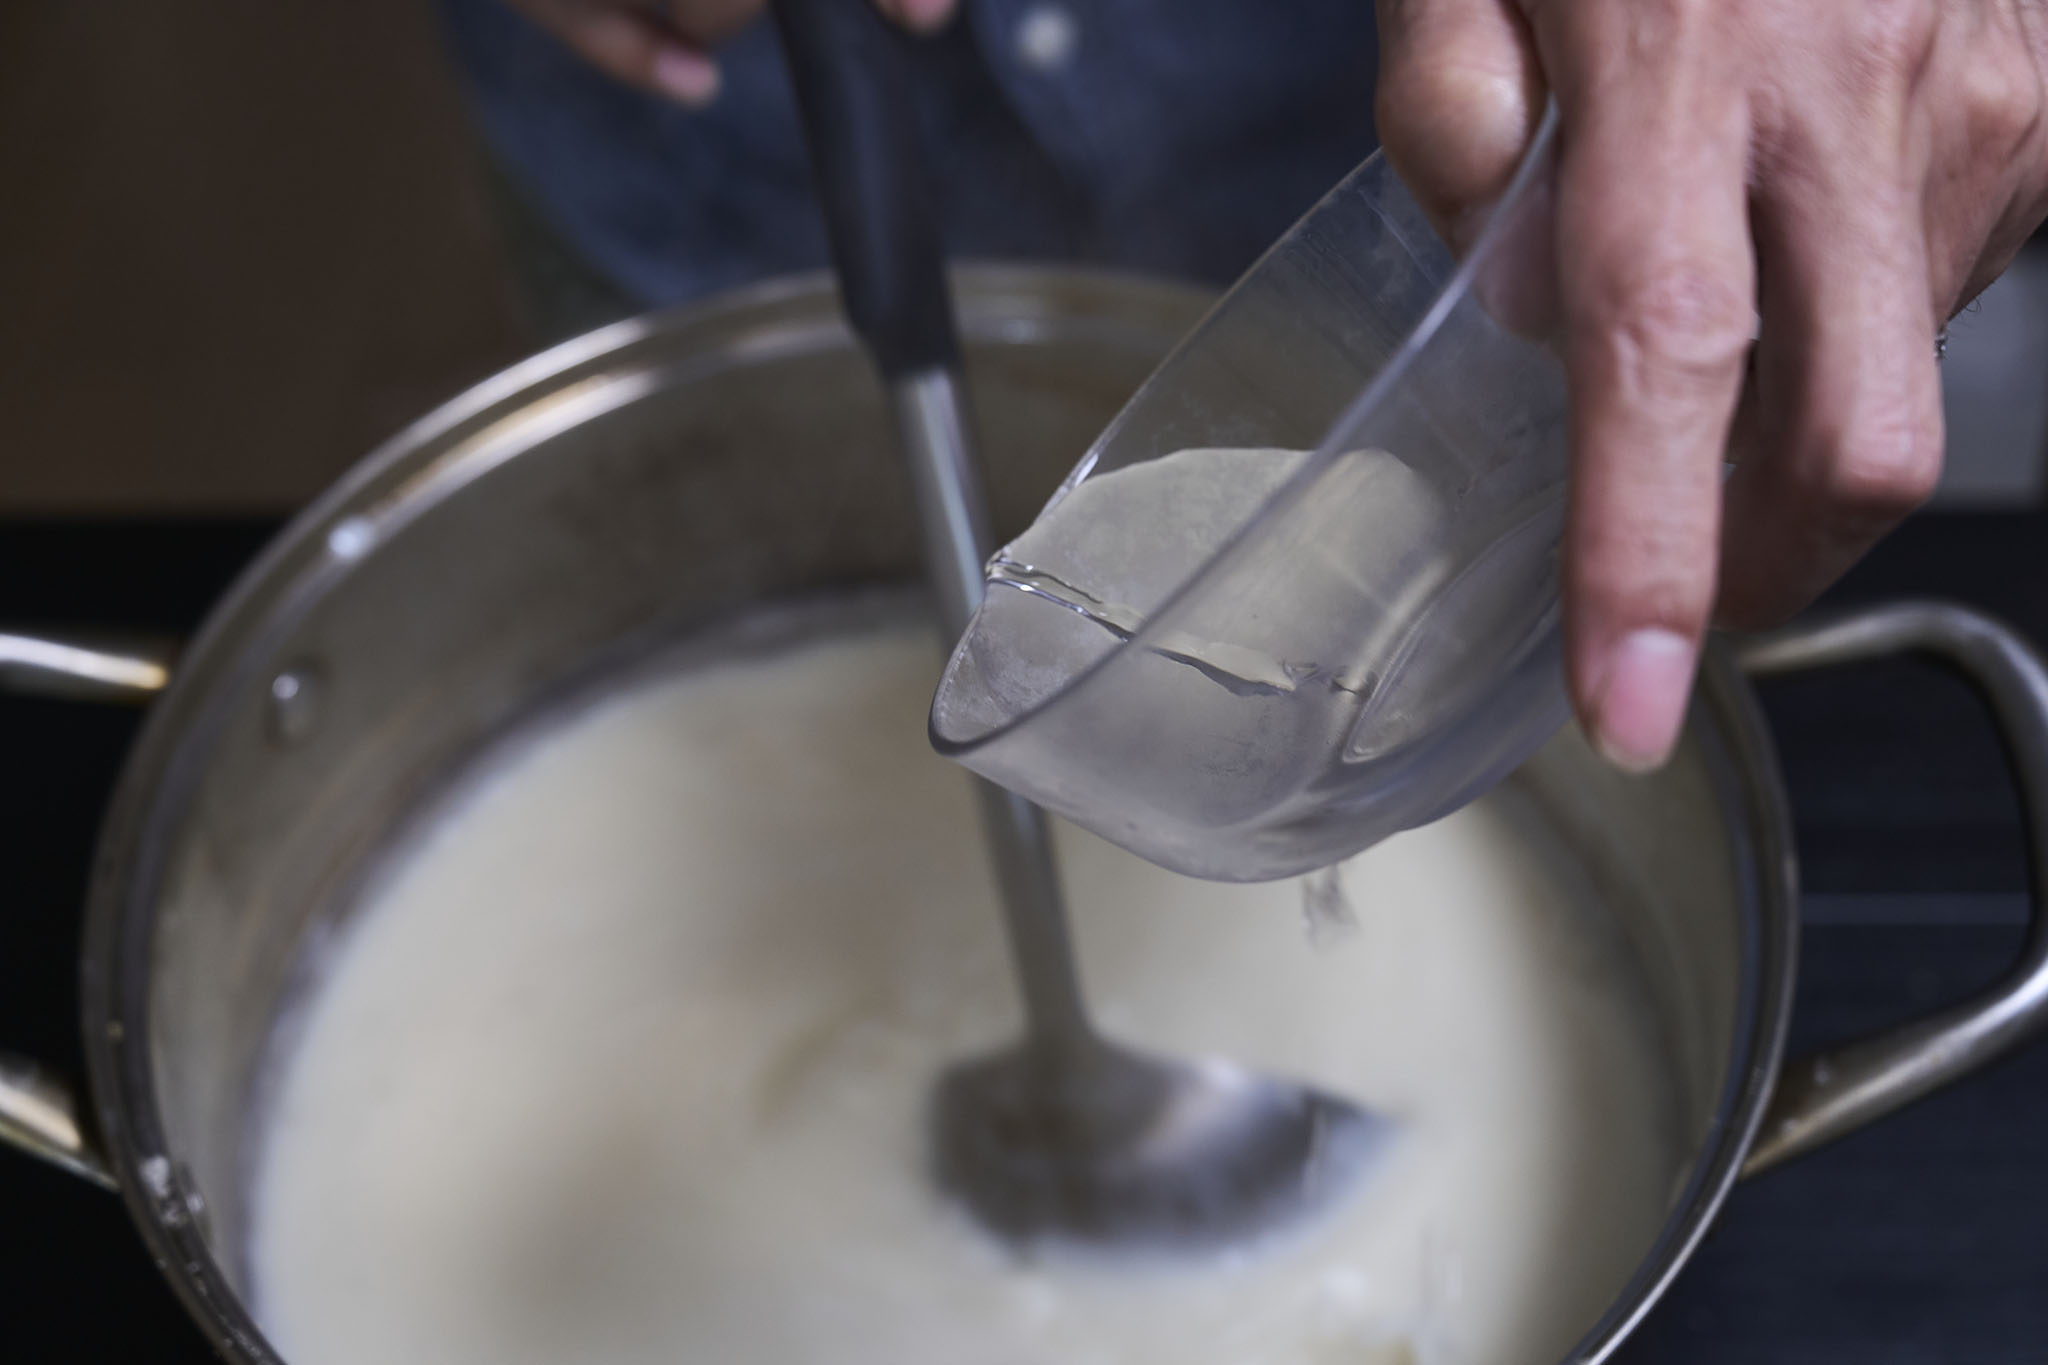
To coagulate the soy milk, slowly pour in the prepared nigari solution in small portions, stirring gently as you go. Nigari works fast and you’ll quickly begin to see the soy milk curdling and forming soft tofu curds.
Continue stirring gently until no new curds form — that’s your signal to stop. Stirring longer won’t produce more tofu; in fact, the curdling is more influenced by the quality of the soybeans and the temperature than by stirring.
keep in mind: more coagulant isn’t better. Using too much can result in a bitter or unpleasant taste. The right ratio is key for producing smooth, sweet tofu with a clean finish.

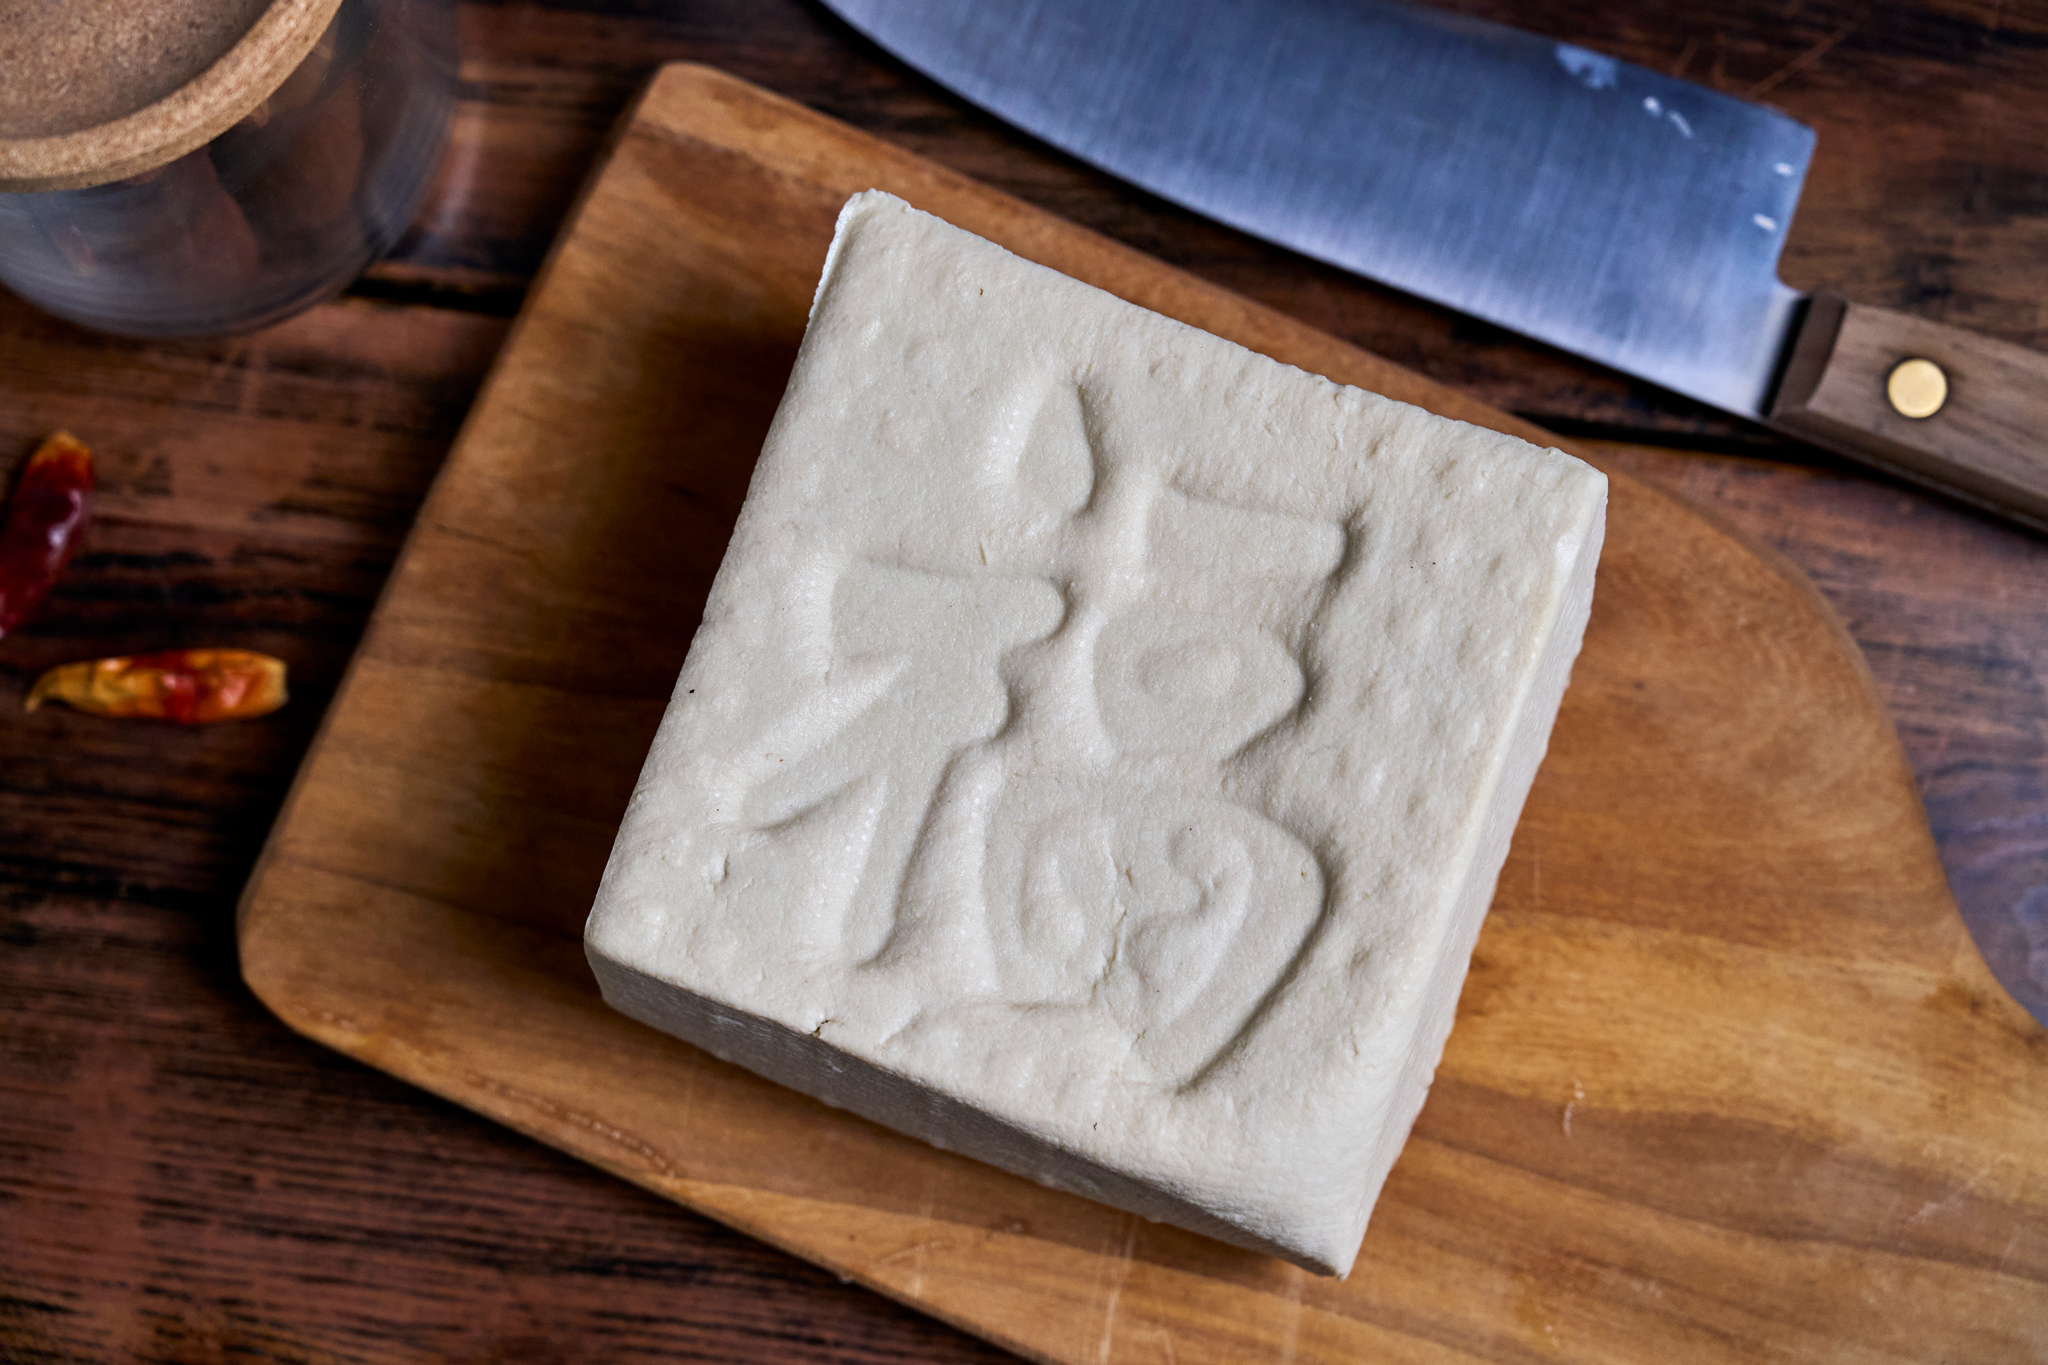
7,This is a small wooden tofu mold — I bought it partly because I thought it was cute, and partly out of a romantic idea that maybe a subtle wood aroma would linger in the finished tofu.
There are also plastic versions available online that work on the same principle — they’re just perfectly usable.
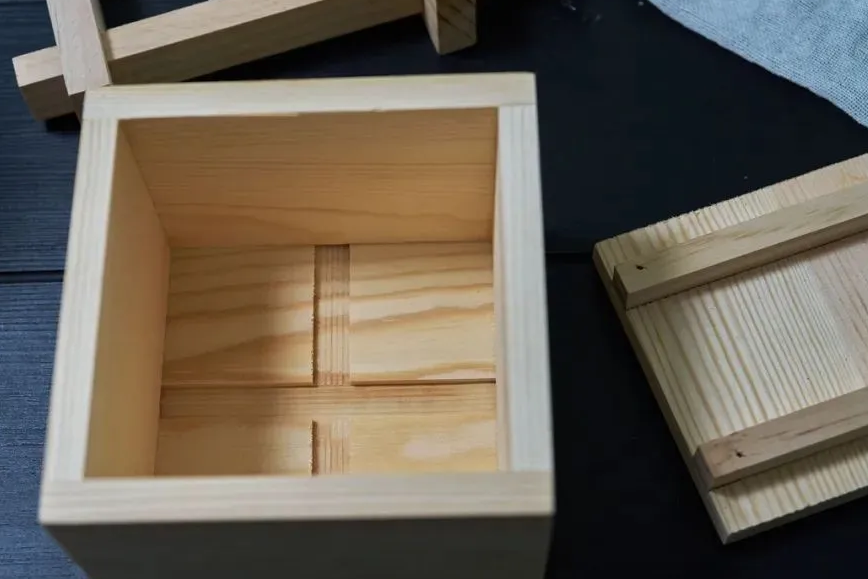
Line the tofu mold with a layer of cheesecloth, smoothing it out as much as possible — any wrinkles in the cloth will leave creases on the surface of the tofu(But I think that looks beautiful too).
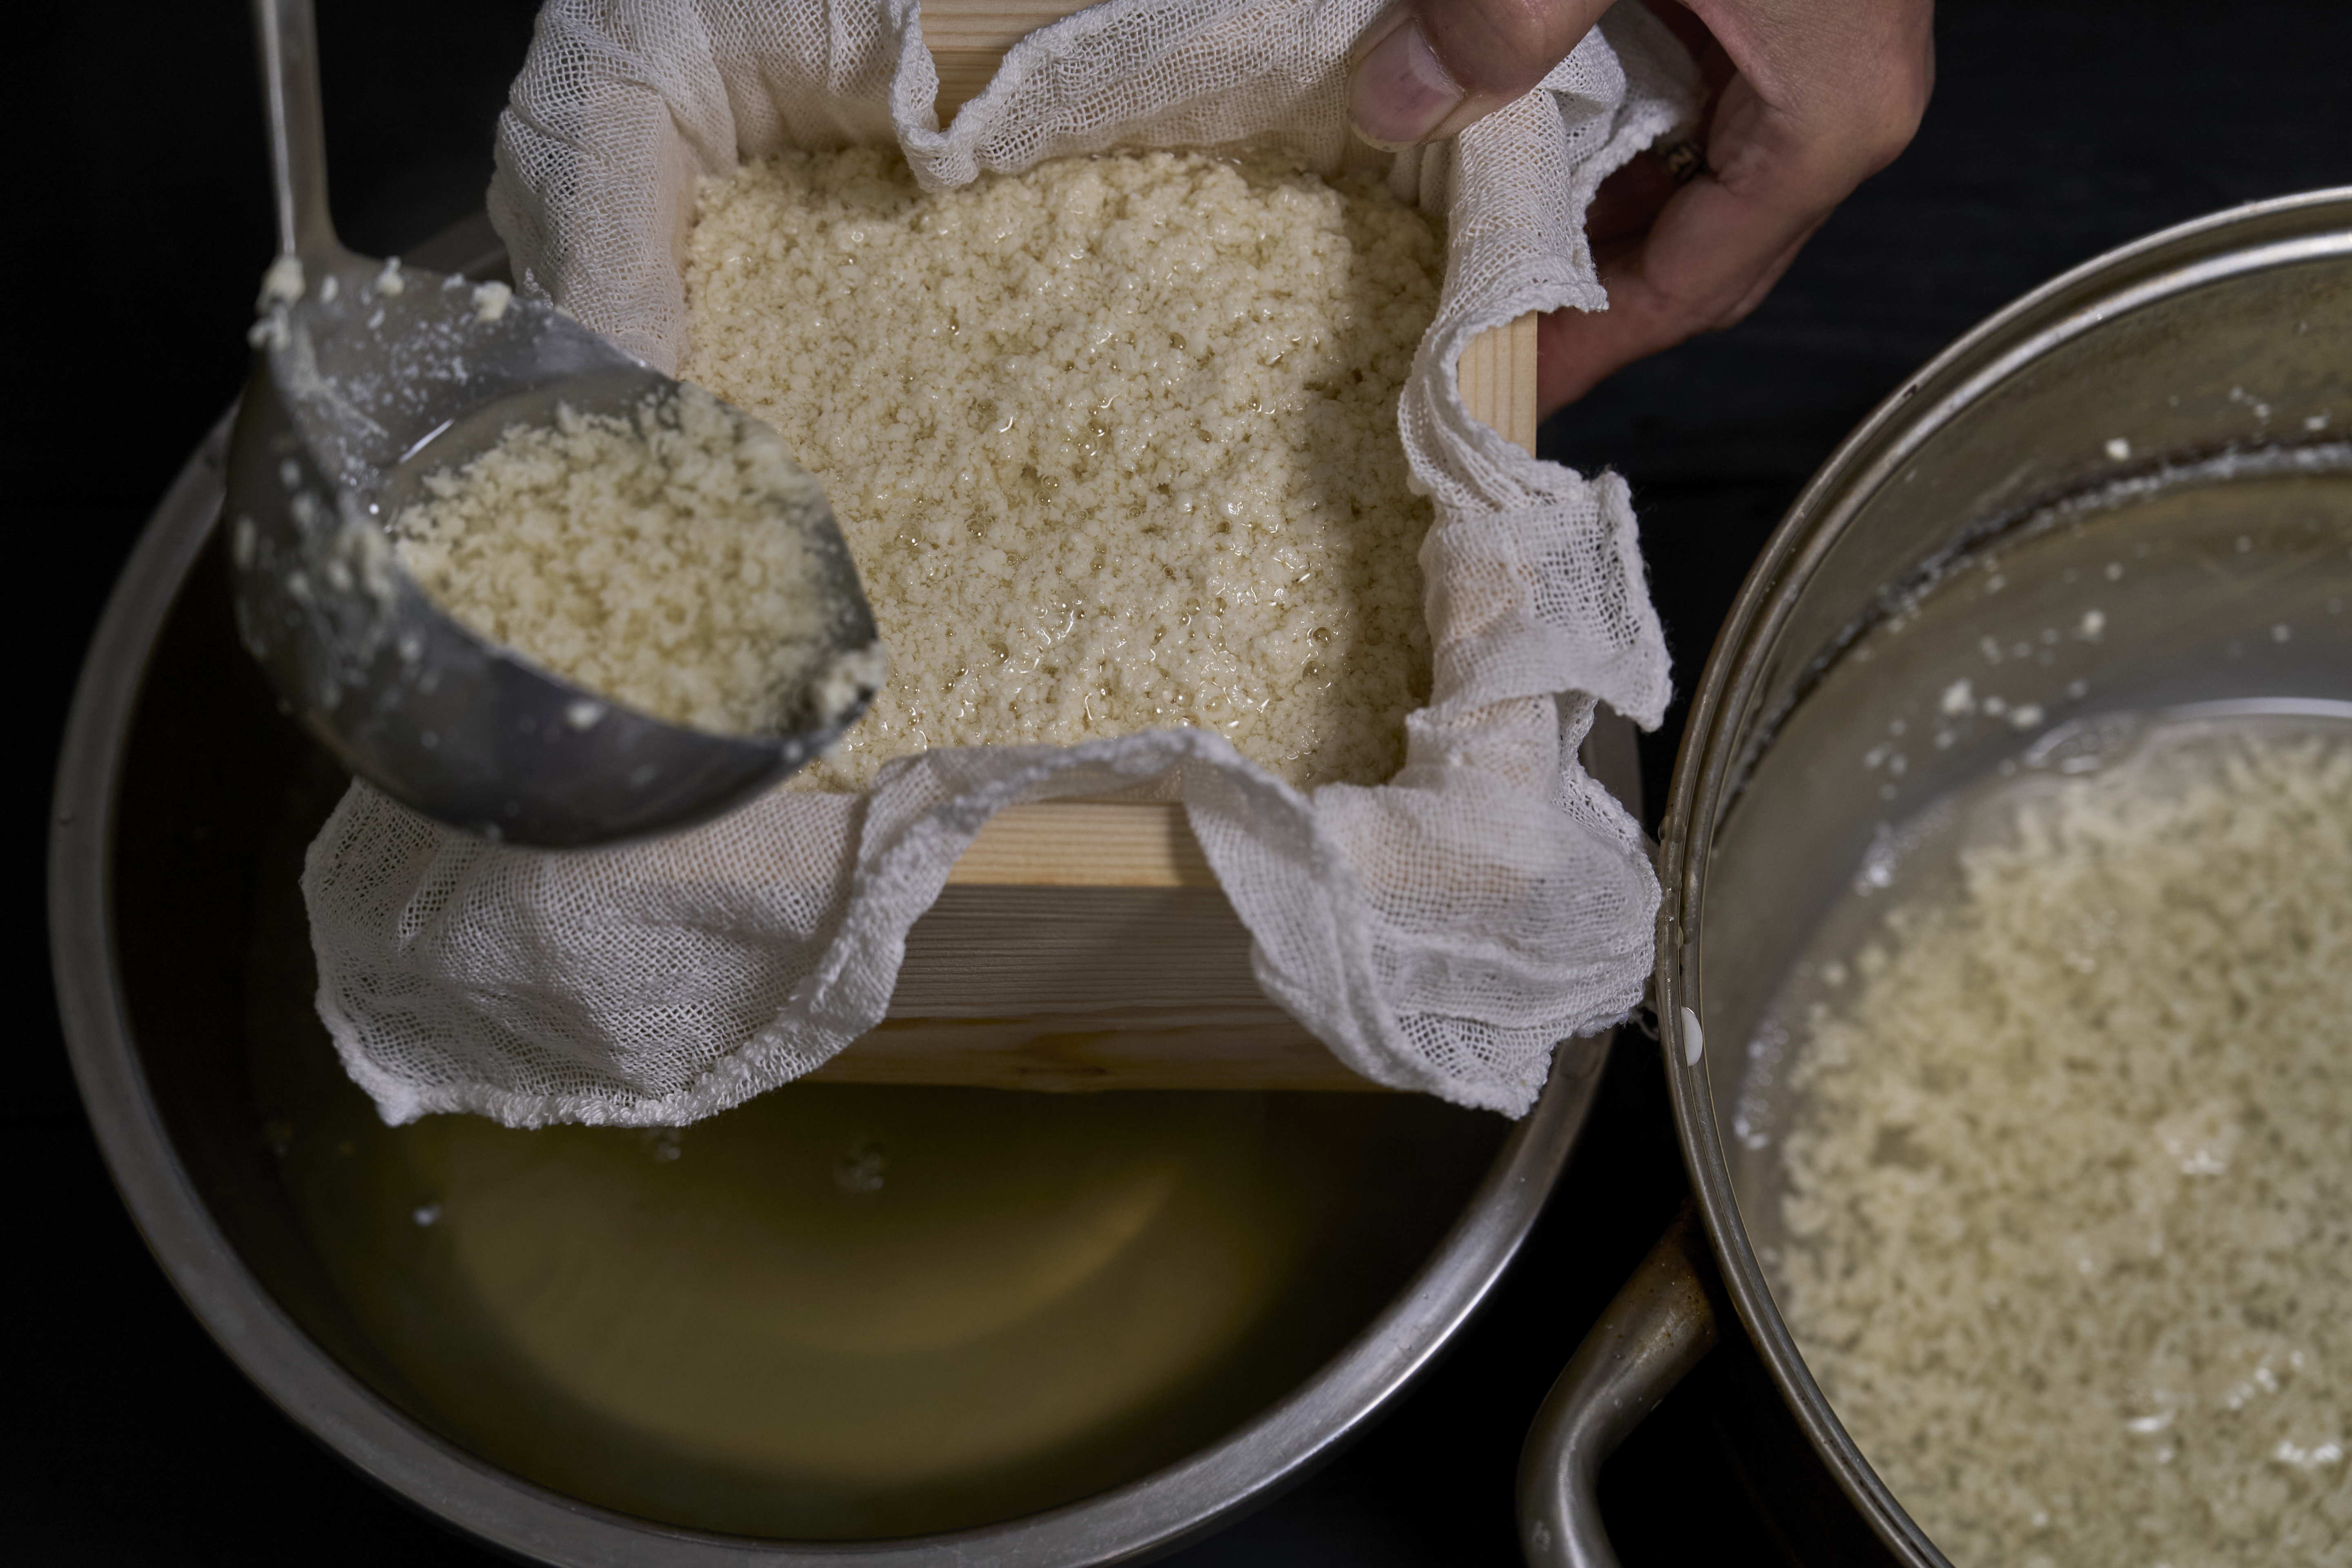
Then gently pour the curdled soy milk (tofu curds) into the mold. The solid parts will gradually settle and press down into layers at the bottom, while the excess liquid will drain out through the slotted “water channels” at the base of the mold.
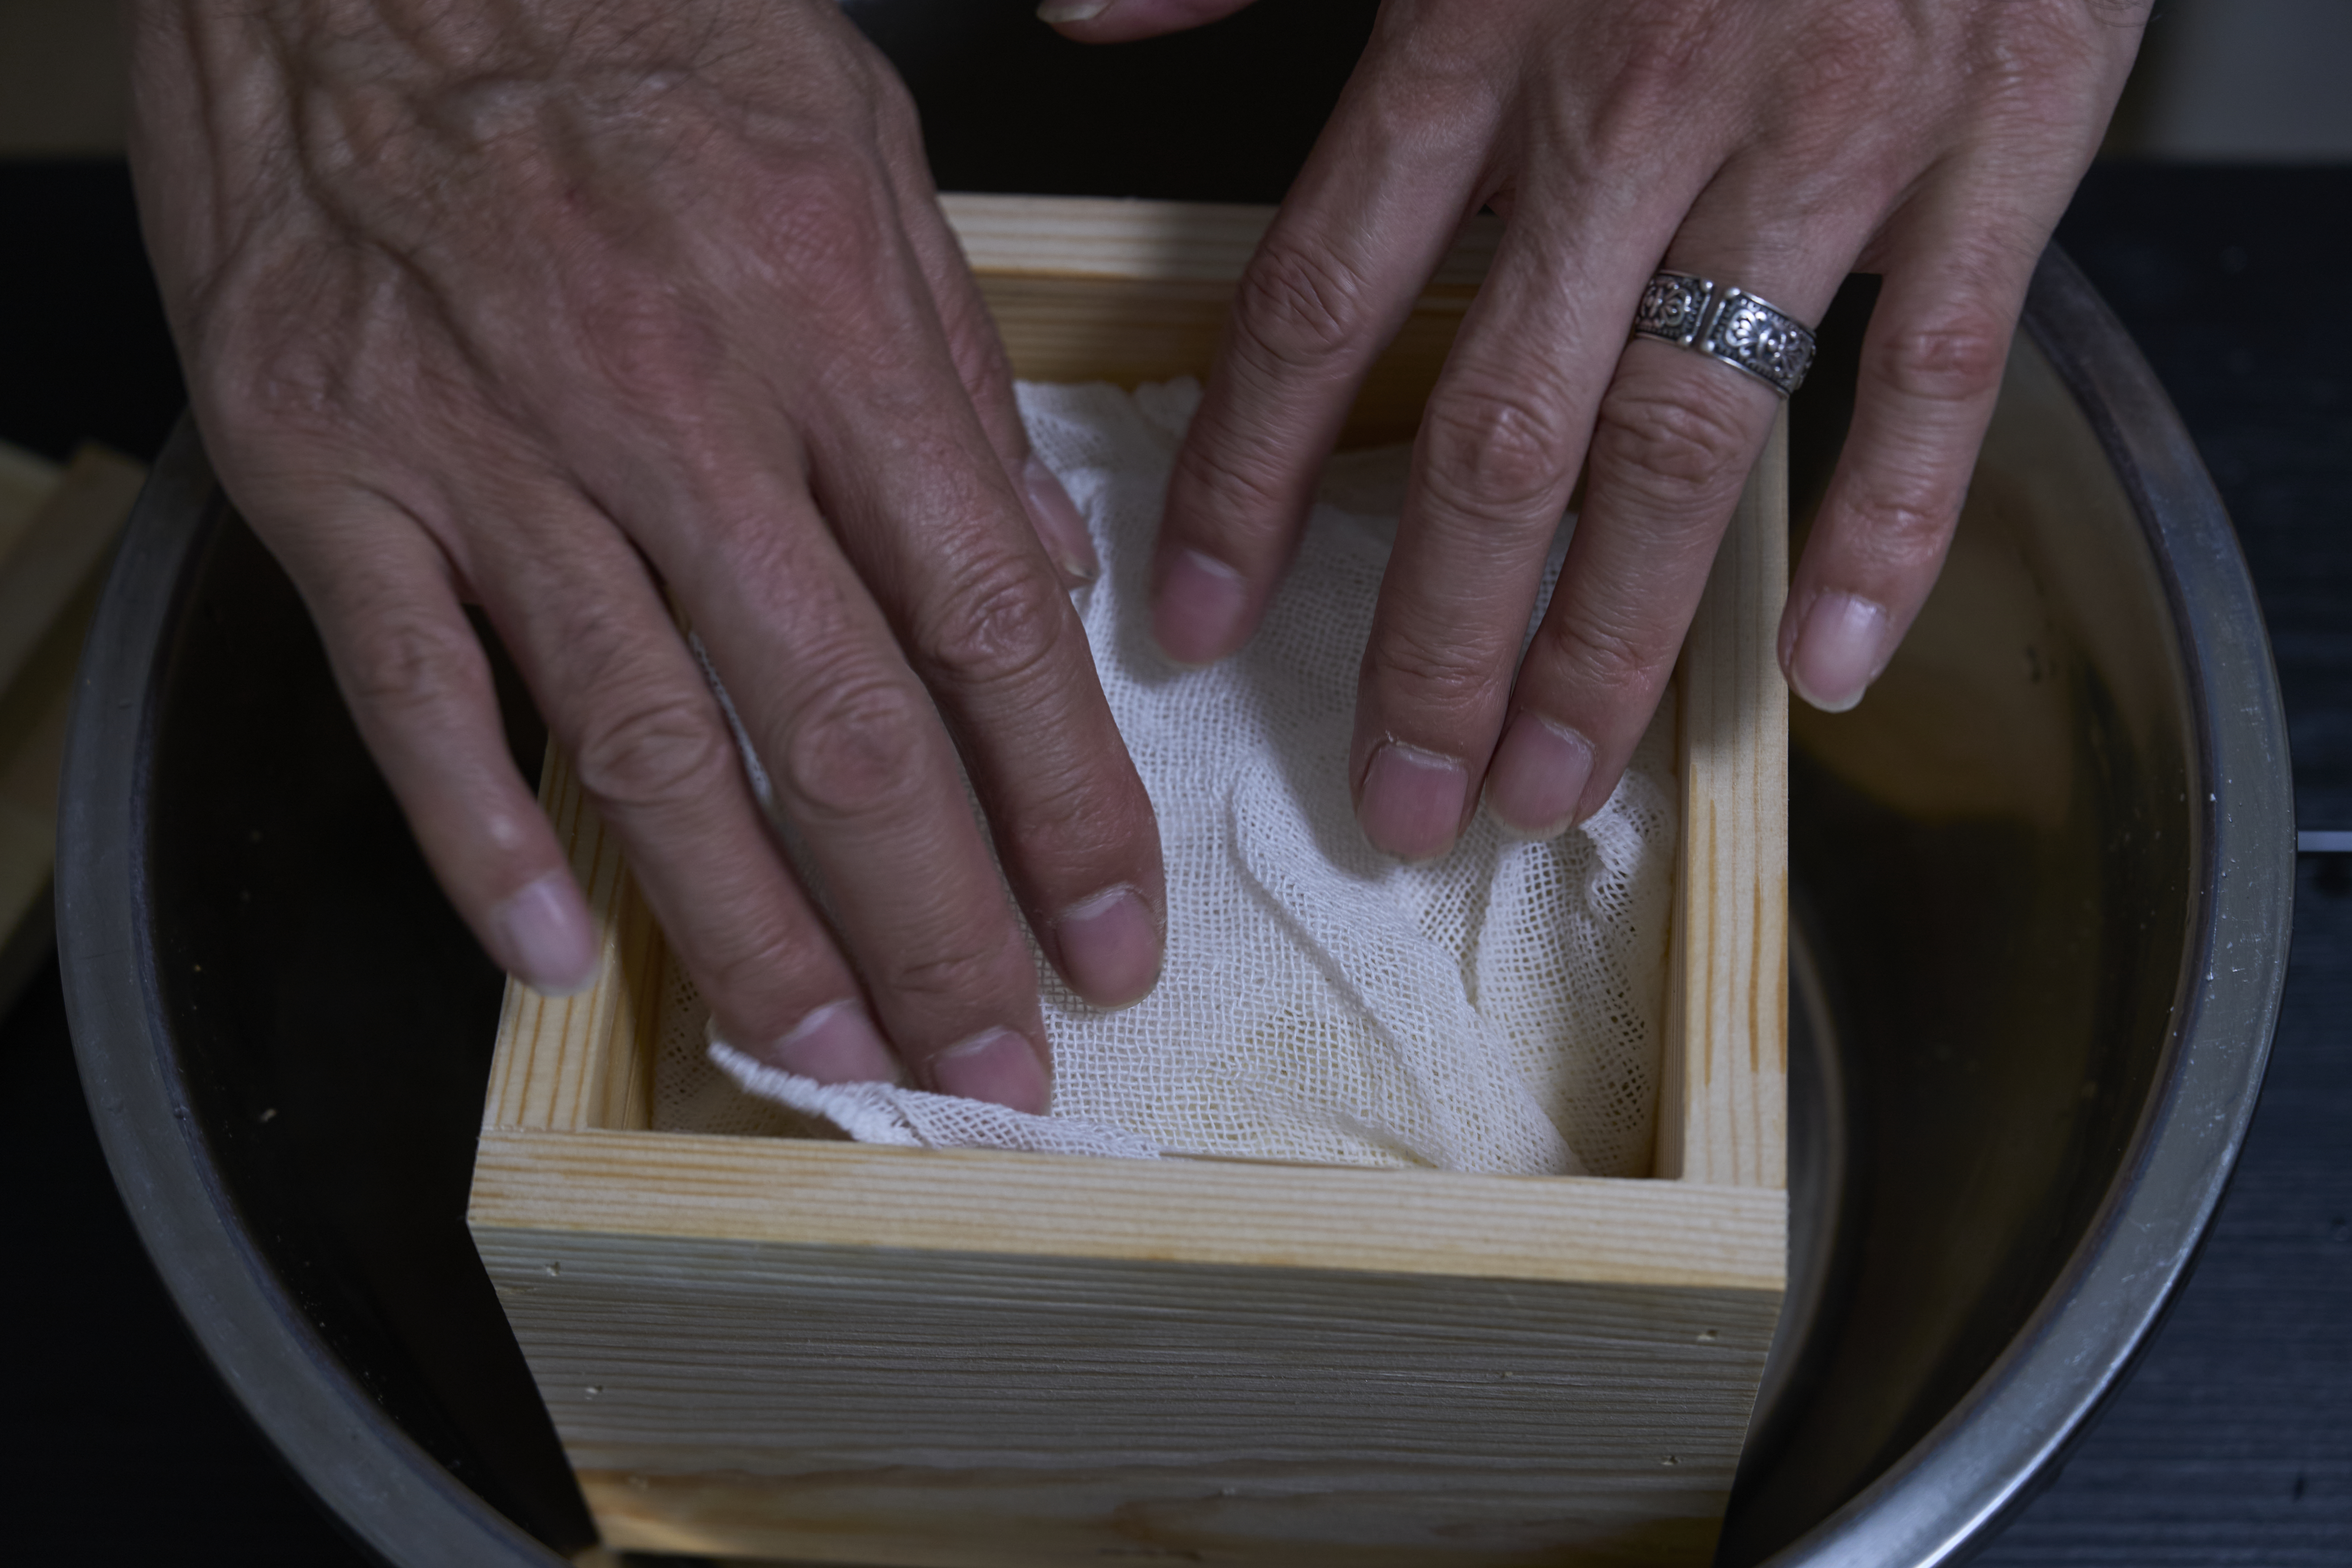
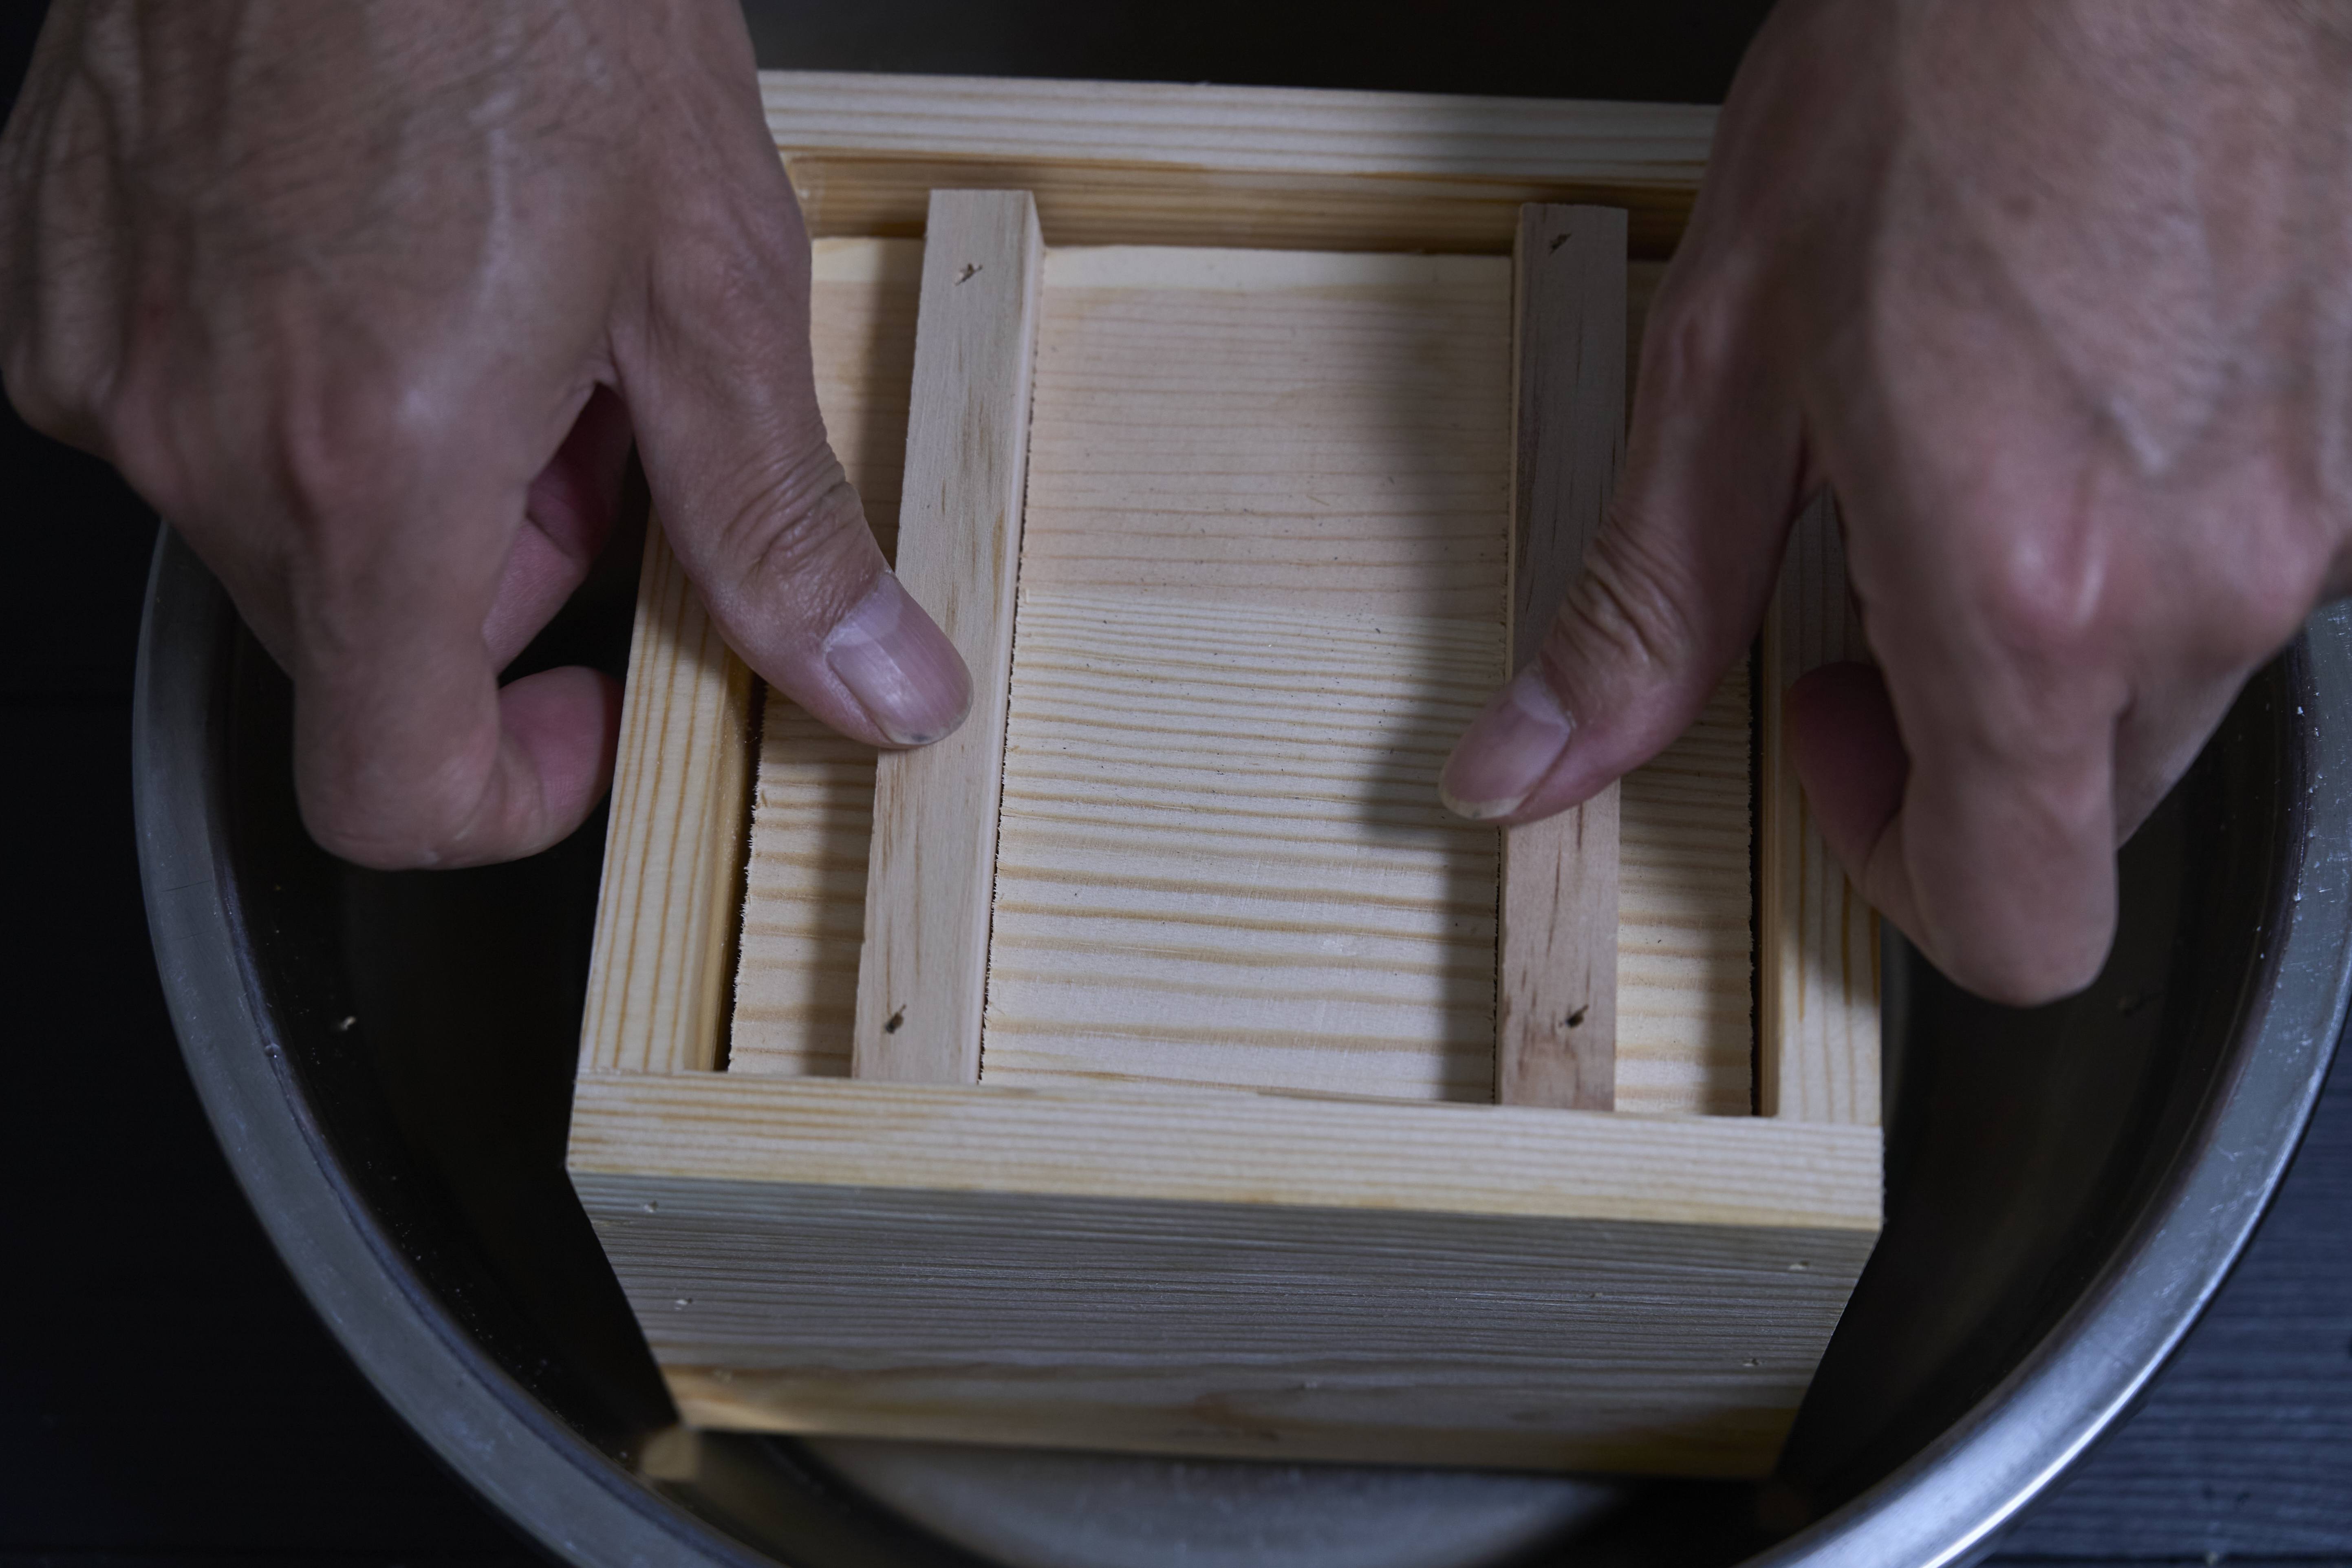
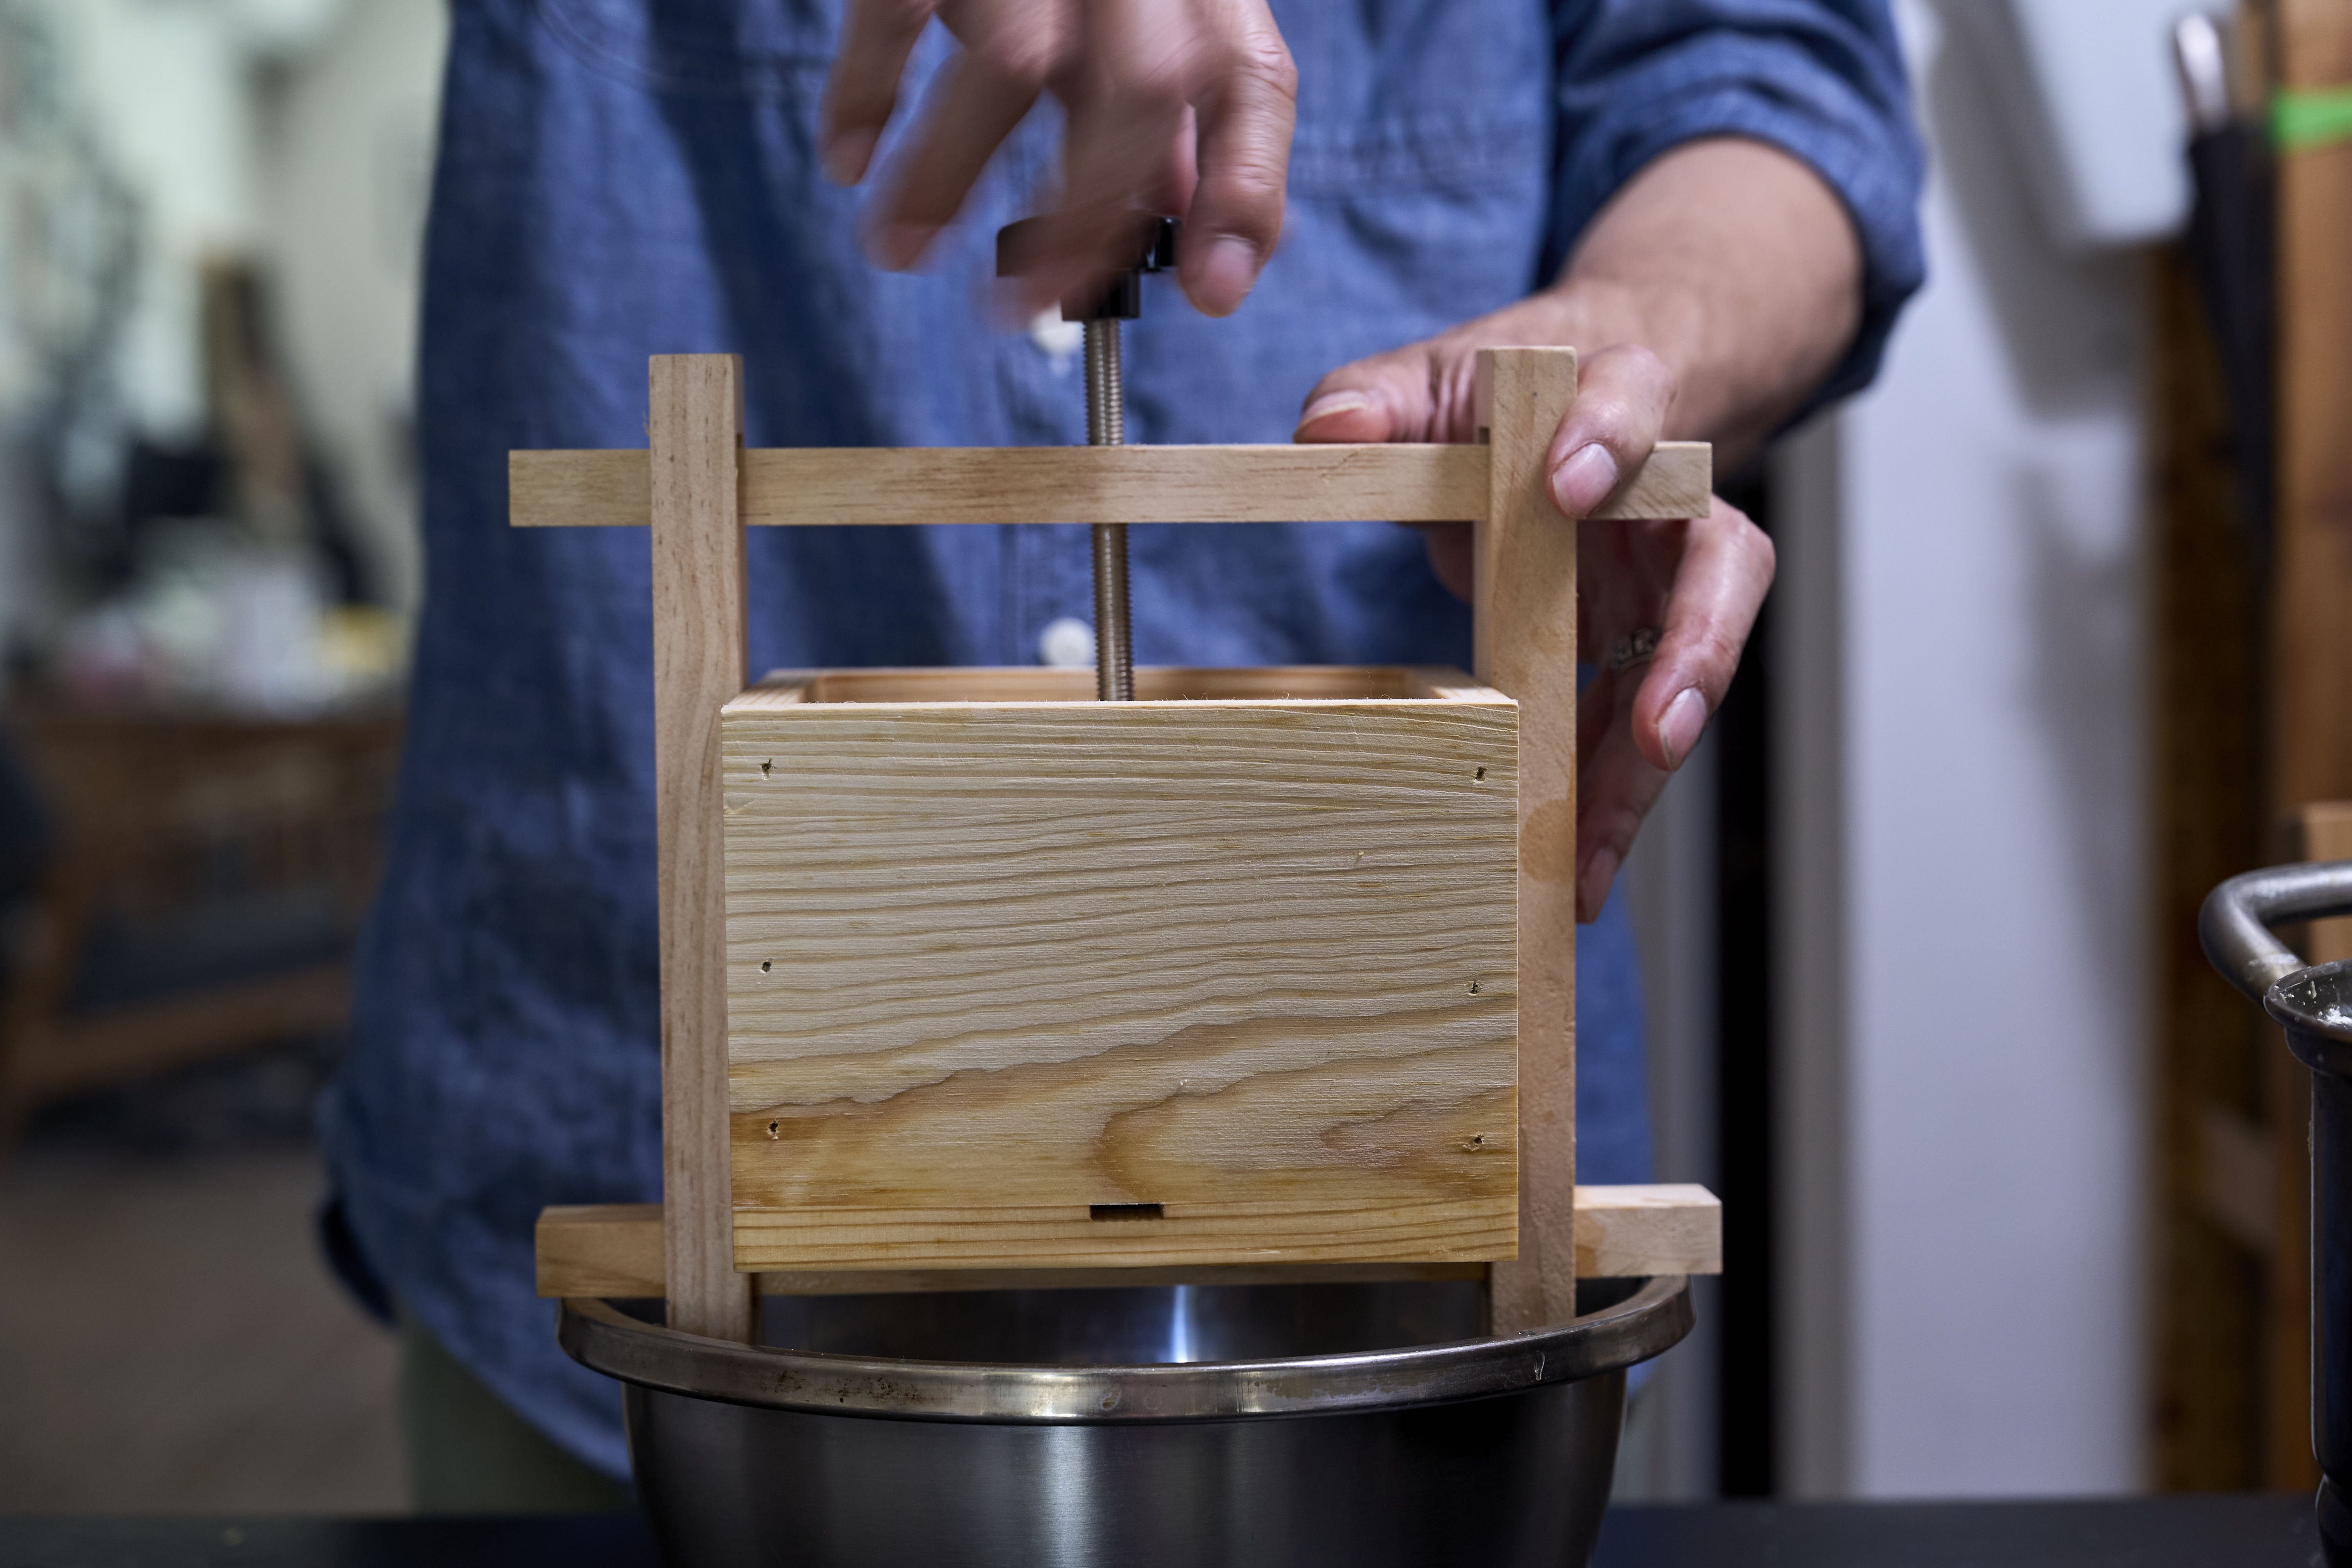
Once all the tofu curds have been poured into the mold, fold the edges of the cheesecloth neatly over the top to cover it. Place the lid on, then apply pressure — this helps press out the remaining moisture and shape the tofu into a firm block.
Keep the pressure for about 20 to 30 minutes, depending on how firm you want the tofu to be. A longer press time will yield firmer tofu, while a shorter time results in a softer, silkier texture. And then — it’s time to lift the lid and see your creation!
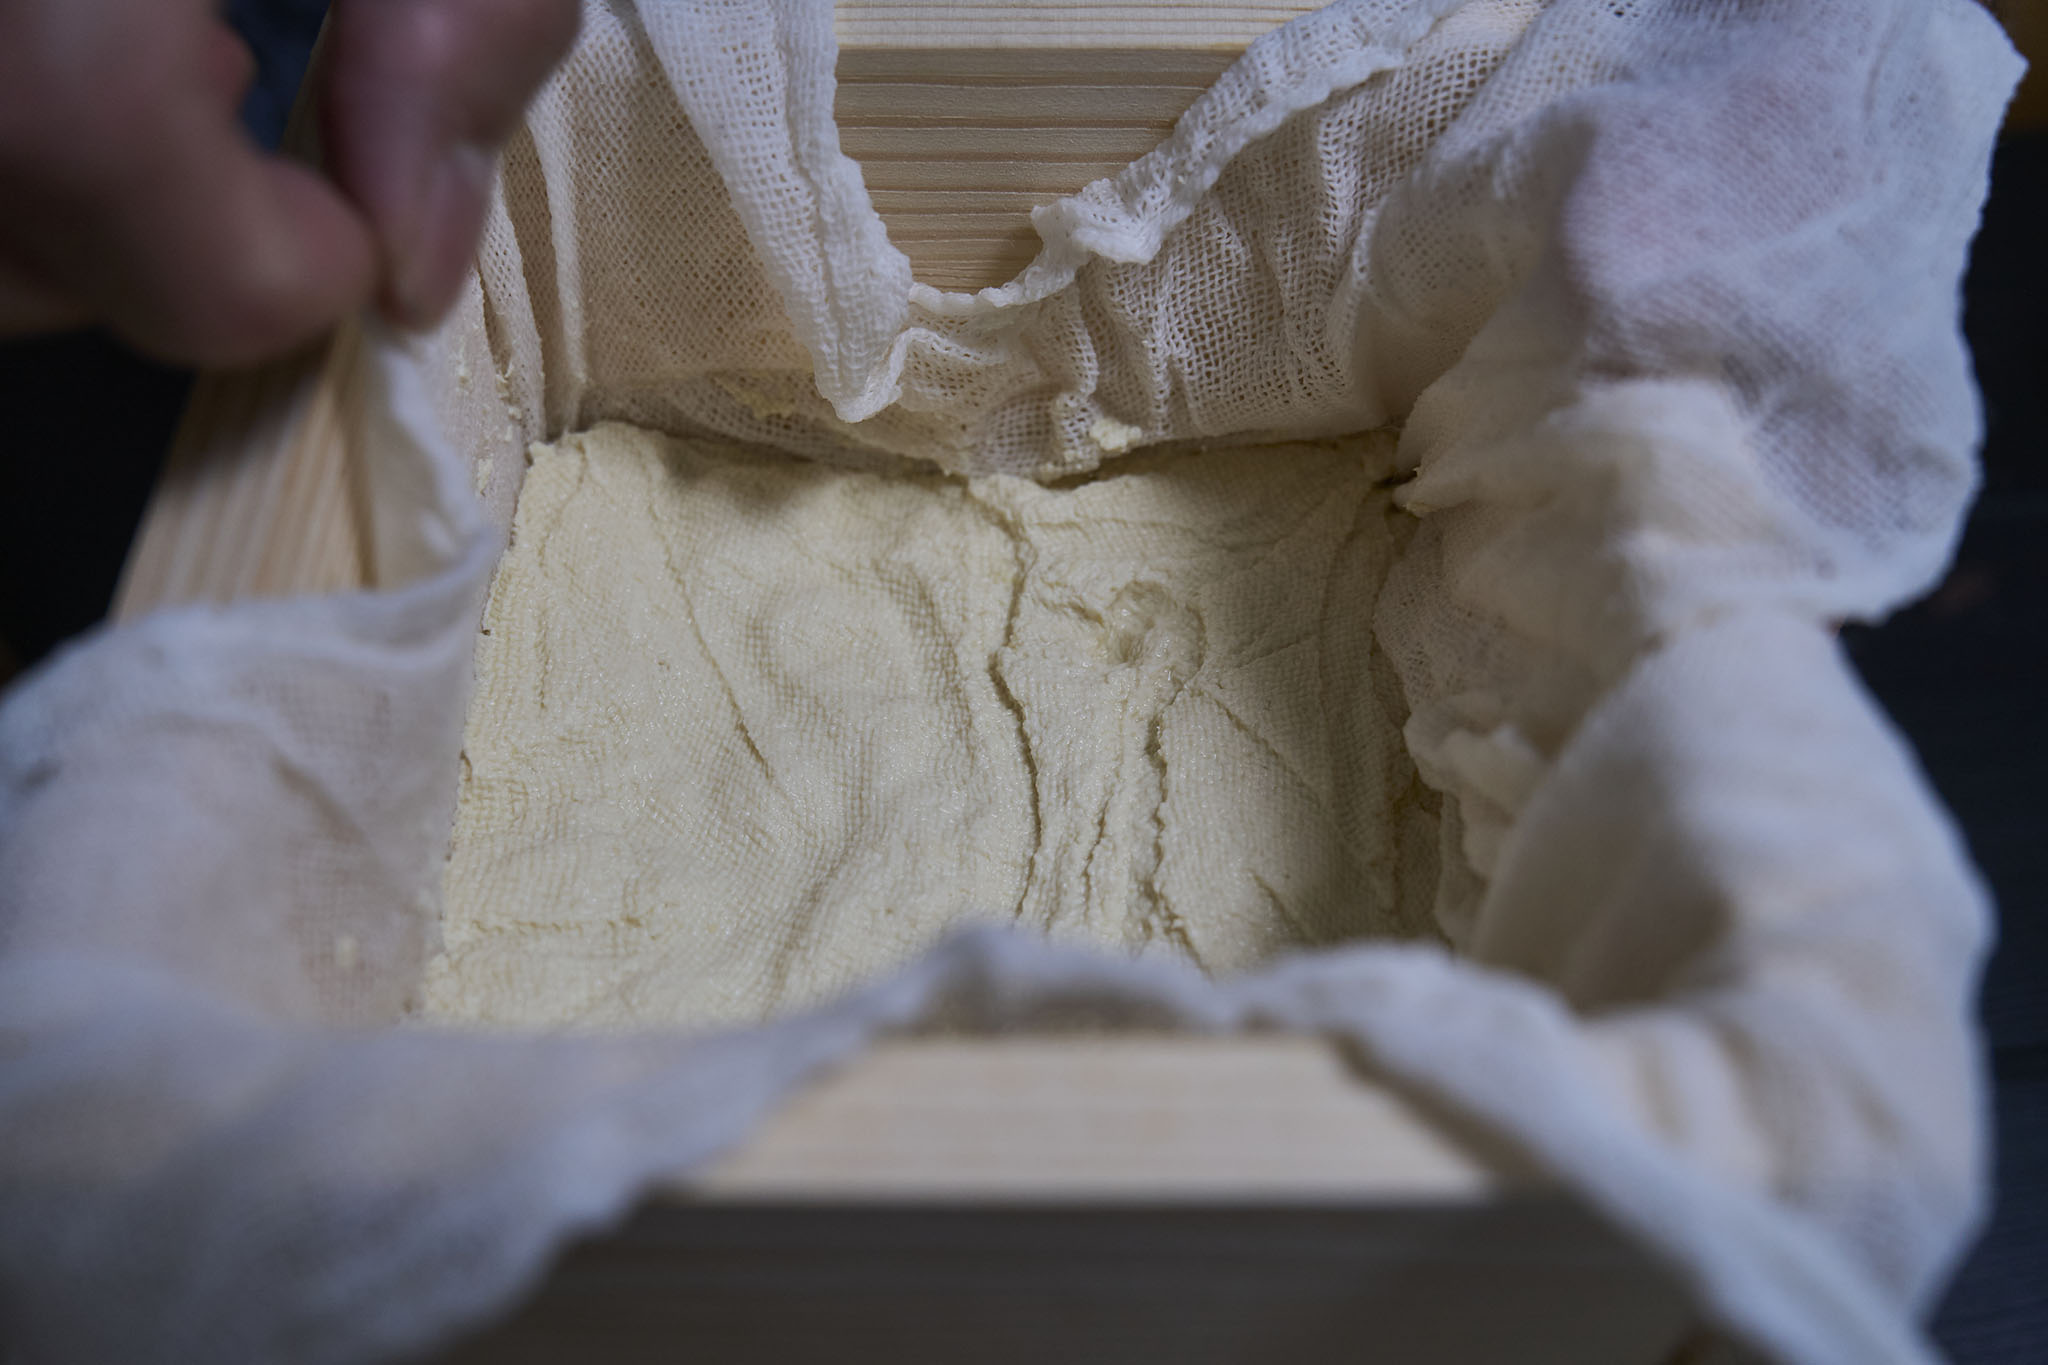
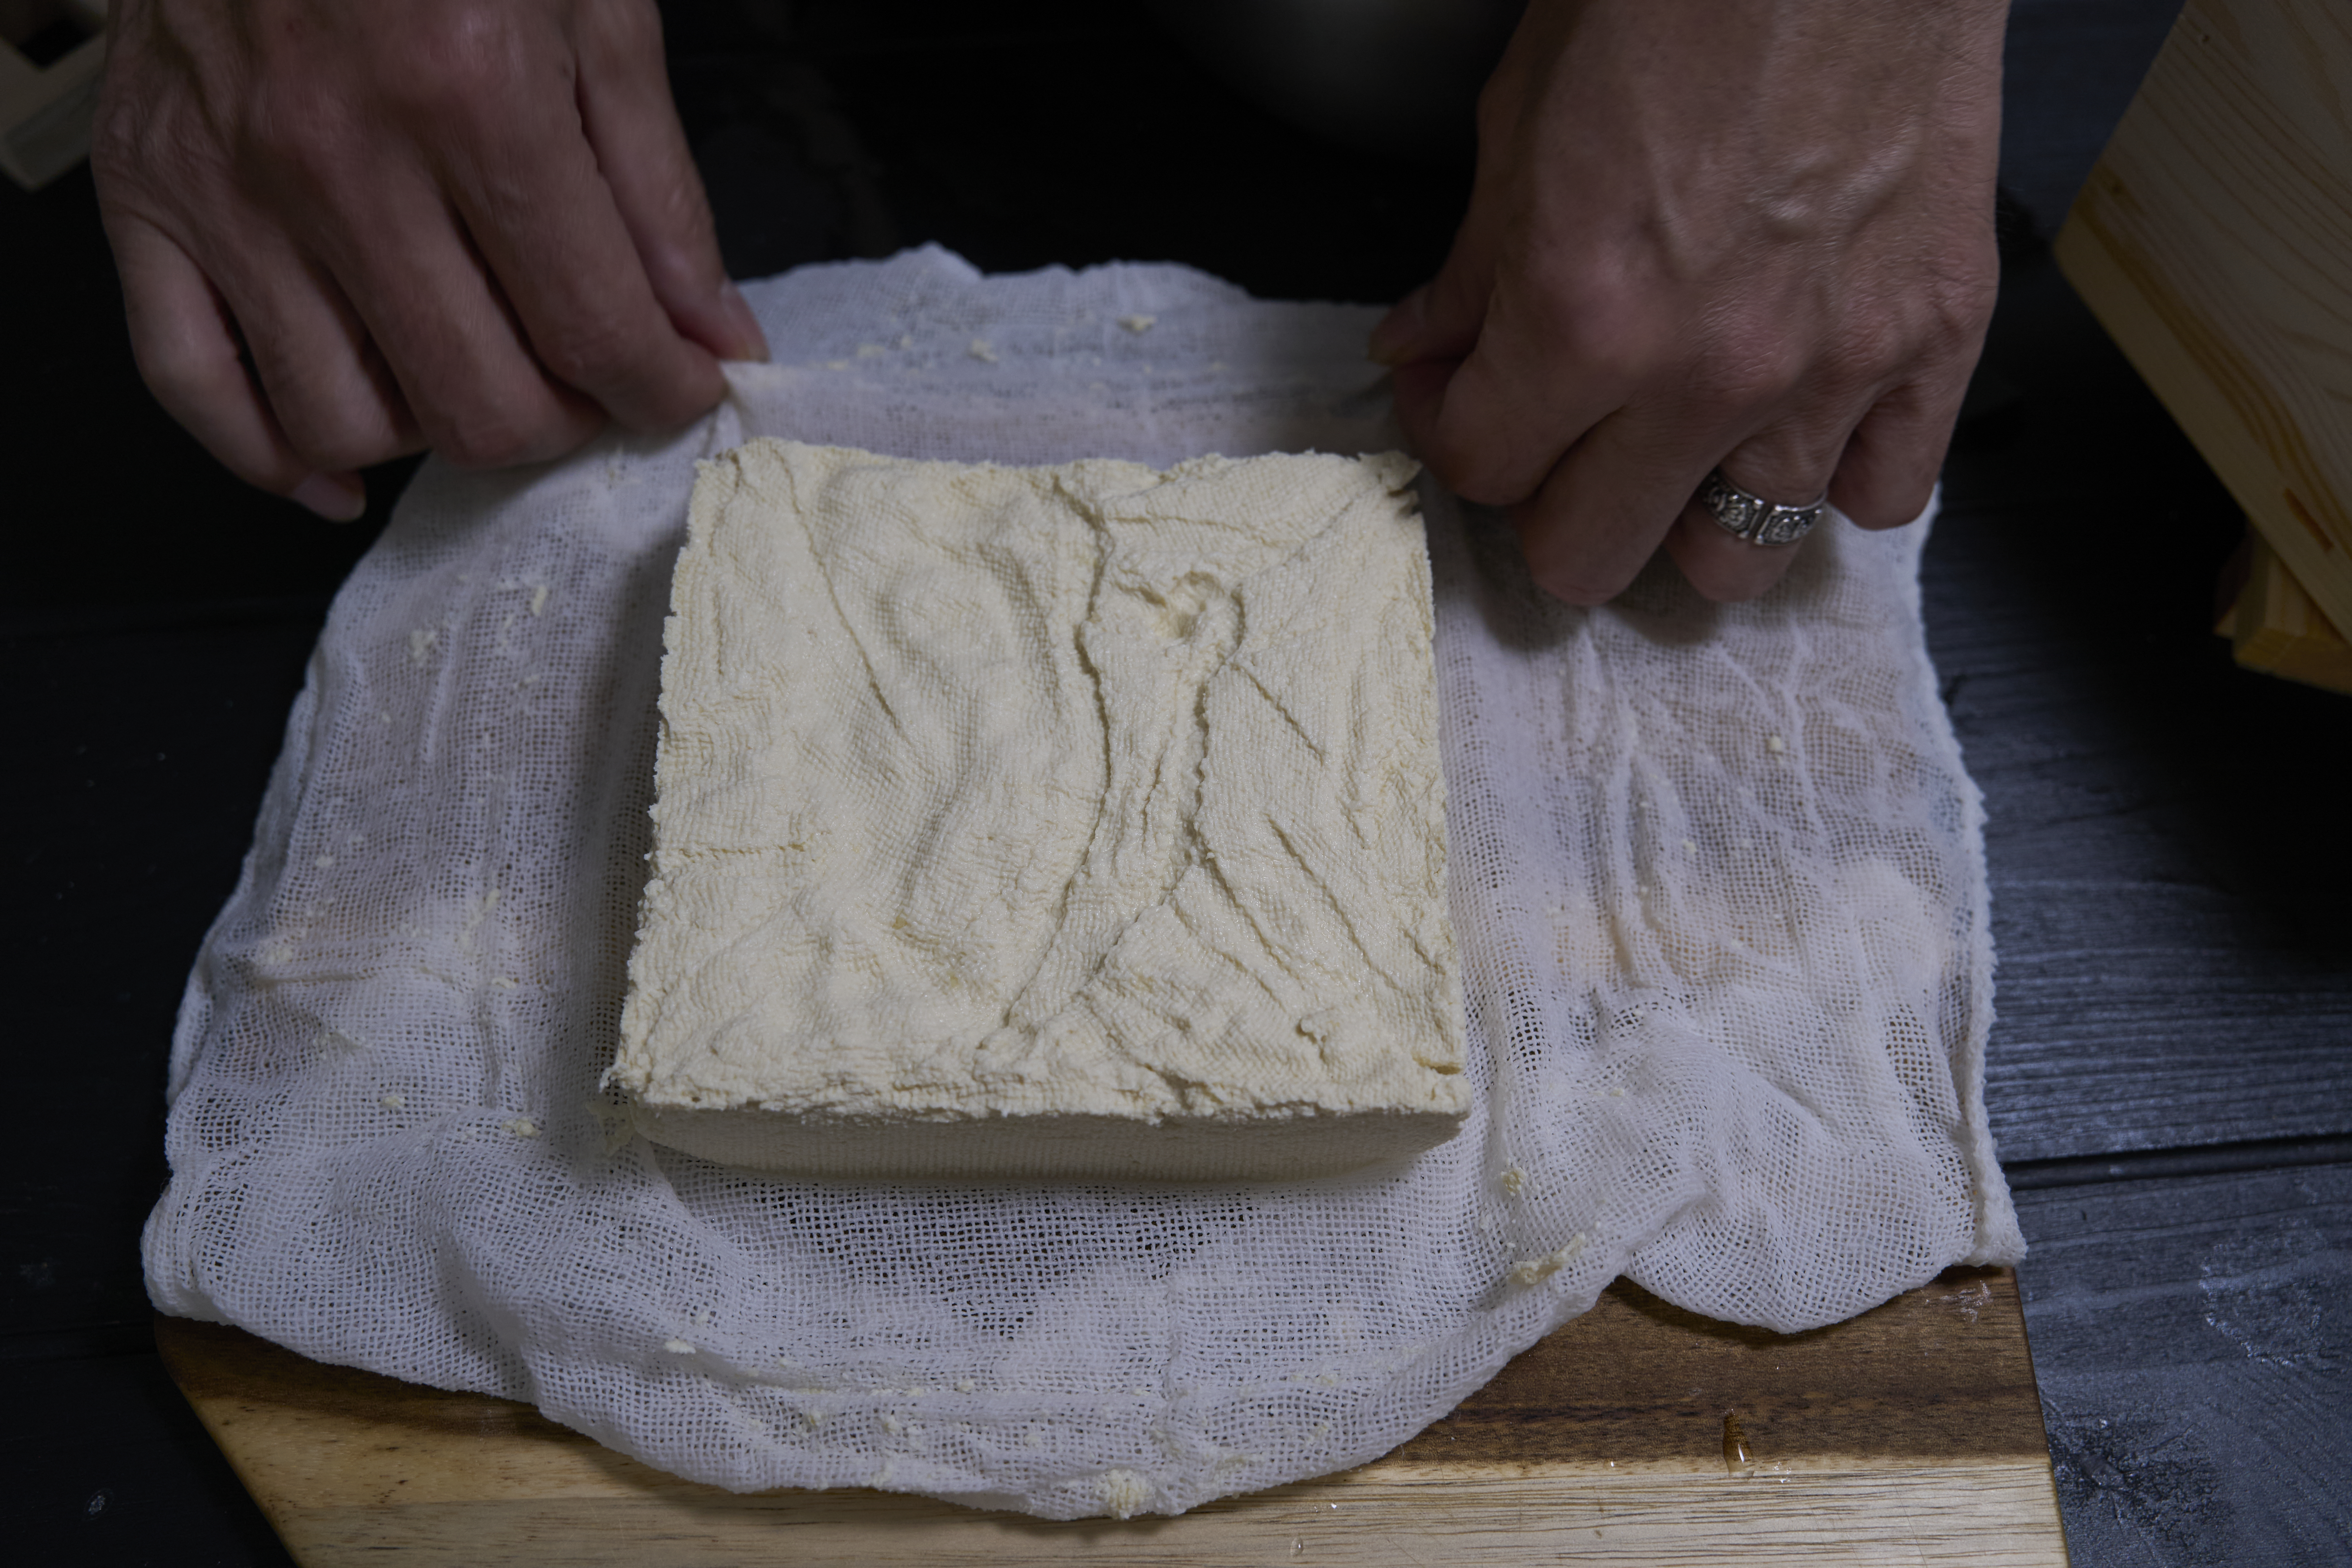
Gently lift the tofu out of the mold by holding the edges of the cloth. If you move too quickly and the freshly made tofu breaks apart, don’t worry — simply place it back into the mold and press it again.
This is the basic process for making tofu using a coagulant — very simple and almost never to fail.
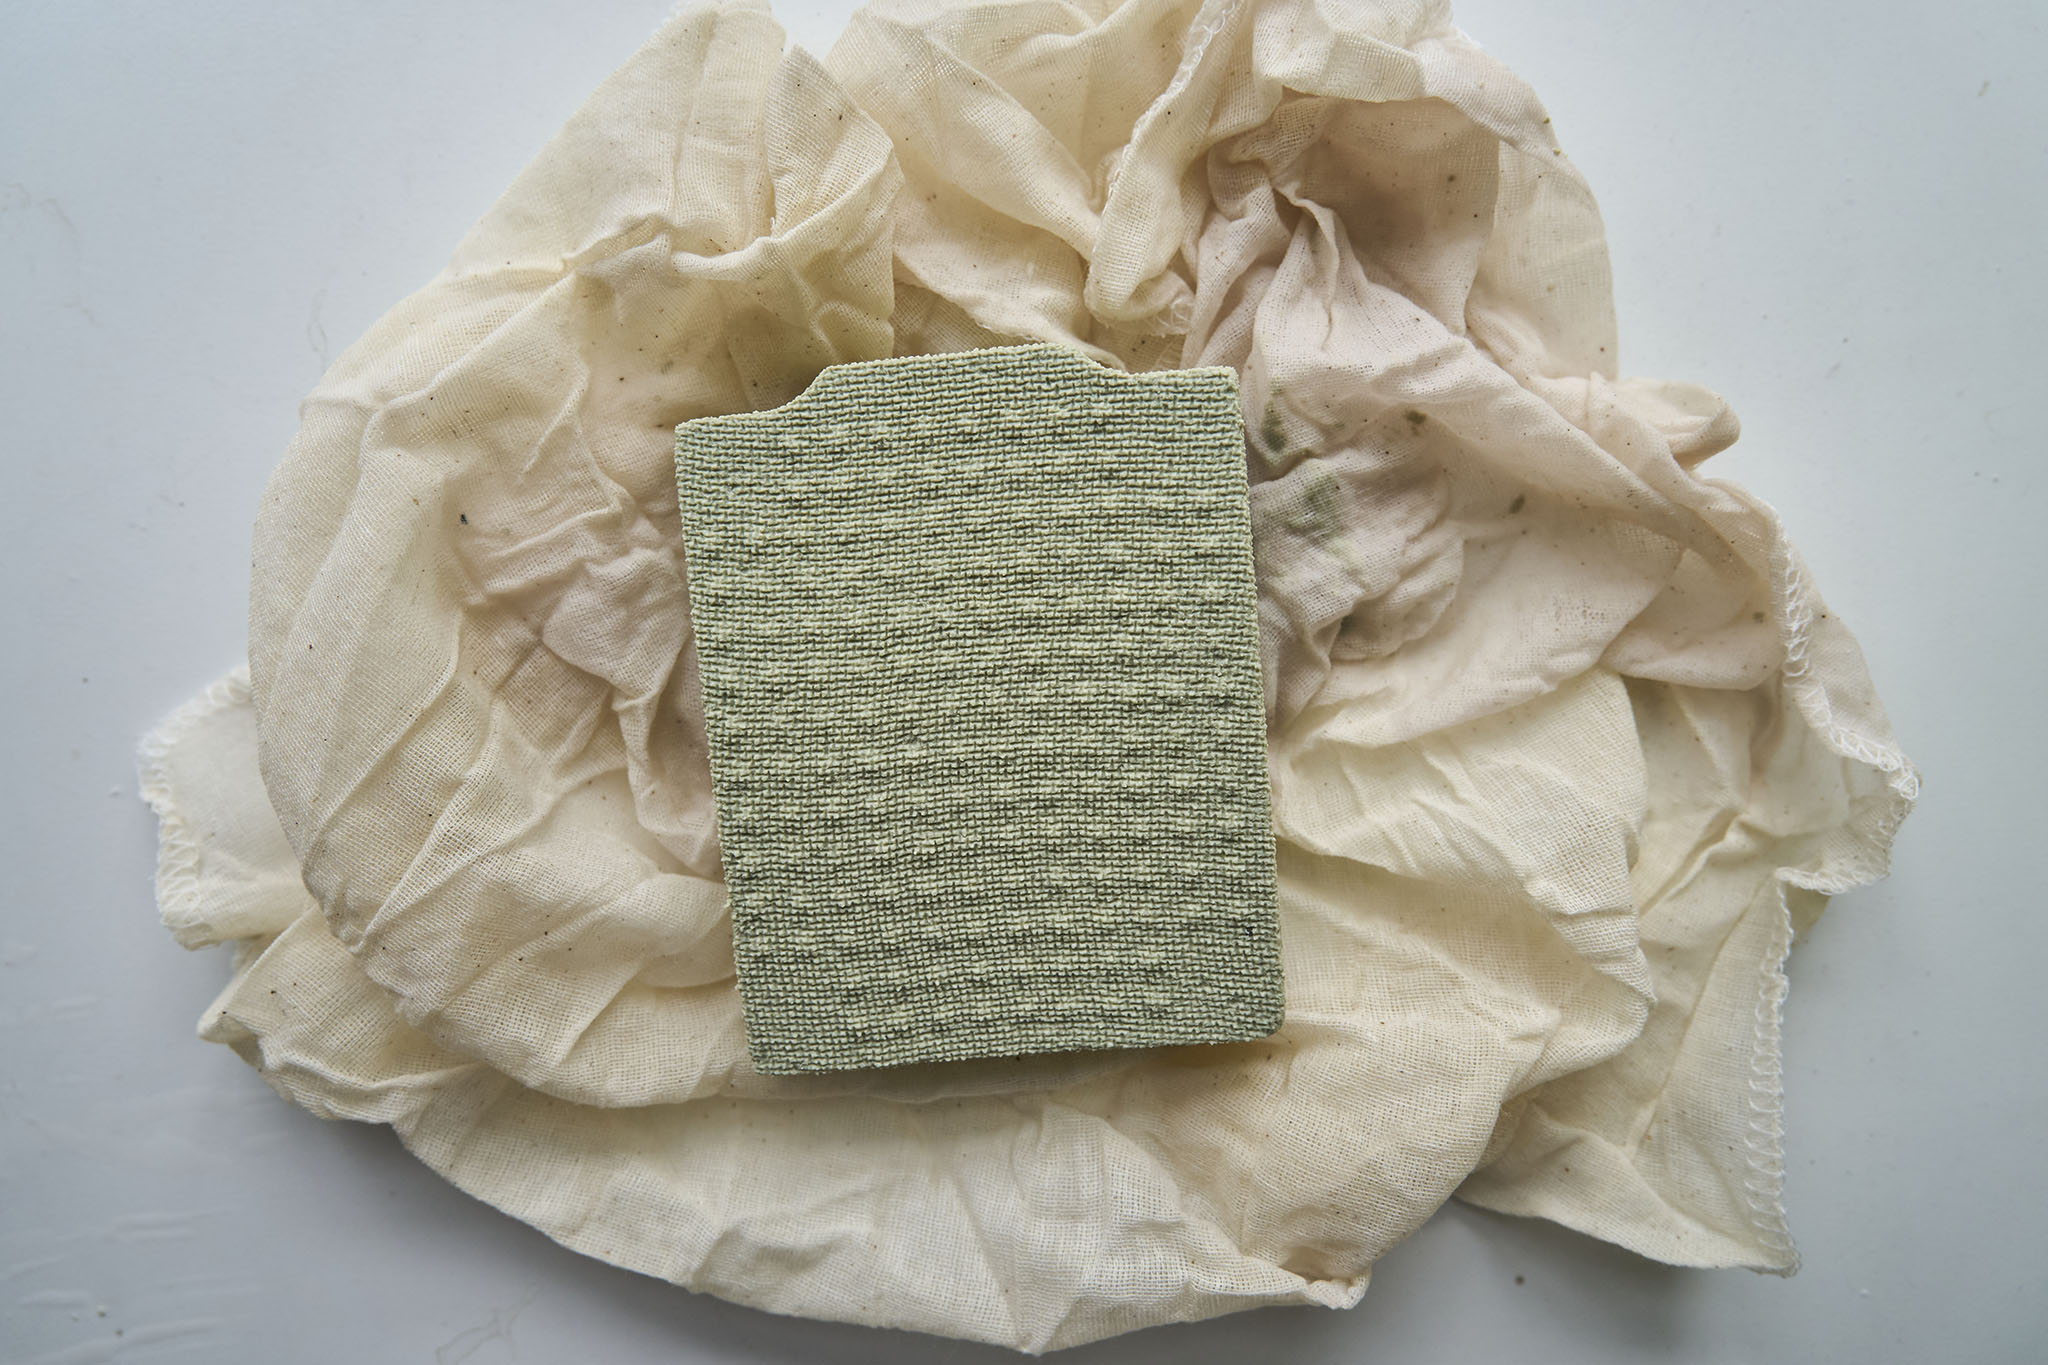
We’ve used this method to make black soybean tofu as well. It turned out successfully just as easily. That’s great news, especially since black soybean tofu isn’t always easy to find in regular supermarkets!
When the tofu is freshly made, we like to cut off small pieces and enjoy them while still warm, dipped in a sauce made from Sichuan pepper oil and soy sauce. It’s a simple yet delicious way to savor it, with a standout feature being its strong, lingering bean aroma and a subtle sweet aftertaste.
Then, we cut the rest in half — one half goes into the fridge submerged in salty water, while the other half is frozen. Now we can cook with them at any time.

Leave a comment